Archive for March, 2010

tentative steps

March 8, 2010

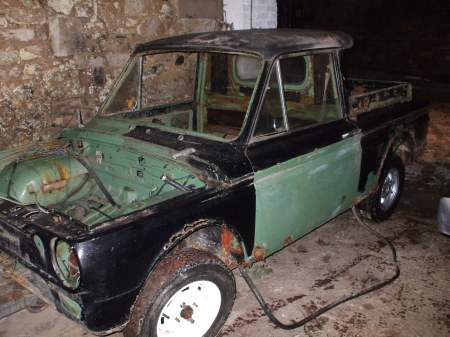
After all the years in exile and not having any running gear on him it was great to be able to trundle the Imp out into daylight. The main purpose of this was to re-organise the space in the garage. I wanted to have him in furthest away from any wind and rain at the door and also to have the bulky engine crane and some other items accessible at the cart-door to move to the vacant space where the Imp used to be to give me maximum room in the barn.

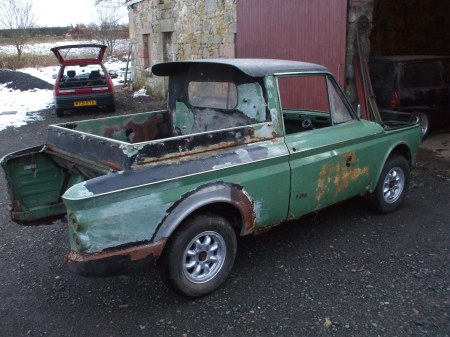
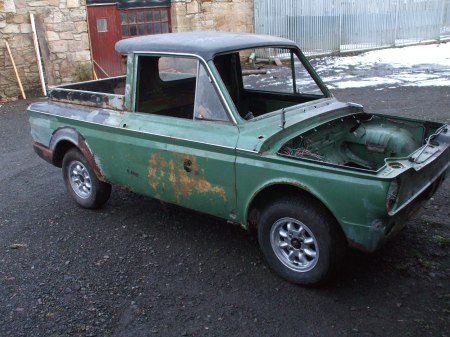
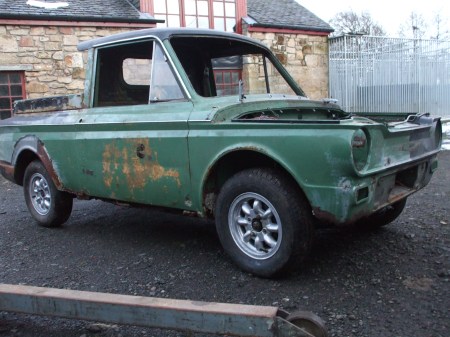
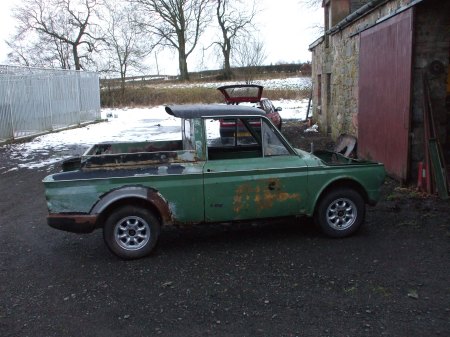
looking surprisingly sound for its 22 years in storage. black 'Pacman' on door was joke to myself in winter 1993 when scraping black paint off

pop on repair panels at rear not removed yet on driver's side

looks OK from a distance

orange stuff on door is reamins of matress the car lay on for some time!

another shot showing various areas opened up in the style of 'Time Team' to check for origonal finish over the converted areas

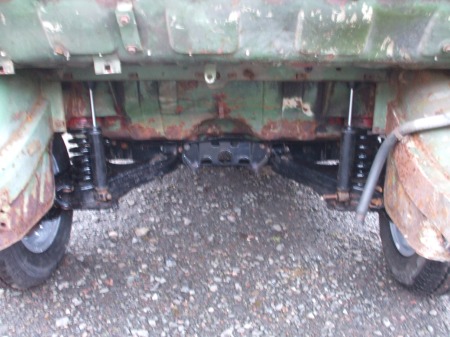
strange-looking shot although this area completely standard

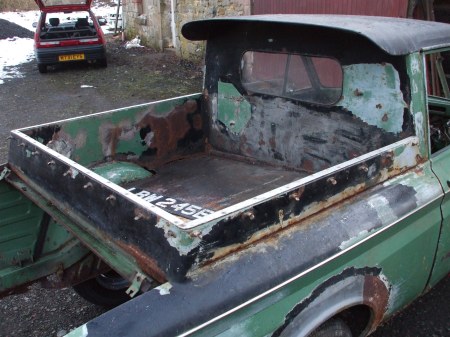
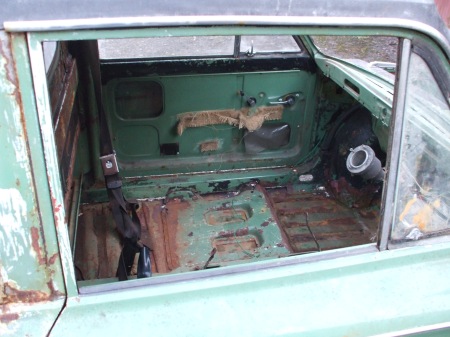
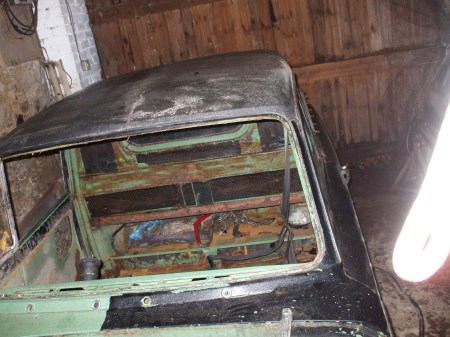
reasonably sound inside also

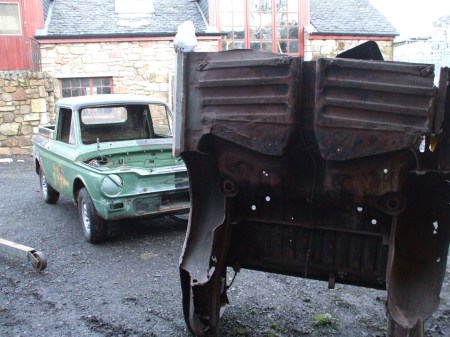
half imp shell deailed in 'half load' post some time ago

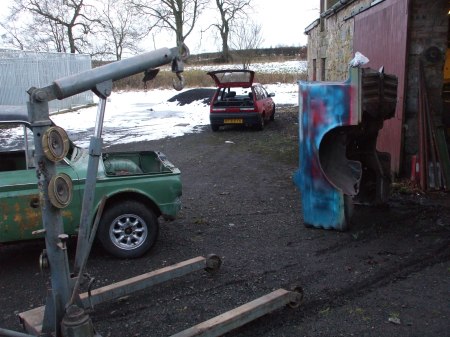
crane is going to be moved to lock up where Imp used to live to free up space in barn. half Imp will be broken down for repair panels.

sain et suaf

March 8, 2010

Well, I finally got the Imp moved to my barn/workshop. It all happened so quickly after the 22 years and 3 months period of inertia.

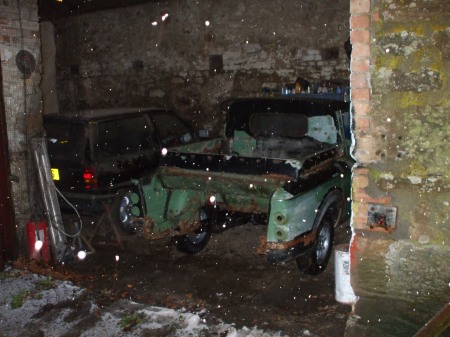
new home for Lonesome George on a snowy night Friday 26th Feb


my friend said 'I see the stars came out to see it'


this side has been facing up to the lock up roof! for 20 years or so


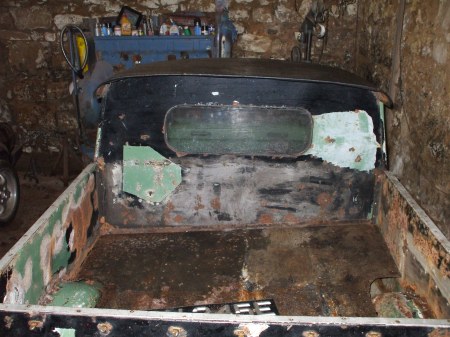
good view of the mysterious load bay


cart-door shut and home and dry

four on the floor

March 3, 2010

Many years ago I wrote ‘ My next move was to roll the shell over onto two matresses to get at the underside. The plan was to hire a compressor and generator (I only have a 32 volt electrical supply in the lock-up), sandblast the necessary areas, weld in new metal and prime it all. This did not happen. I couldn’t find a suitable petrol driven compressor to power the sandblaster or a generator big enough for the welder. Most hire shops don’t want to know when you say it is for a welder. The manufacturers of the welder said 2.8kw would be sufficient but none of the hire shops agreed.

Plan B was to buy and adequate compressor and build a jig round the shell, then move the lot to a rented workshop and work round the clock. I’ve built the jig and bought the compressor and a spot-welder (another bank-loan) and am now waiting until I can afford to rent the work-space.

Plan C is to pay-off the current bank-loan then buy some oxy-acetylene welding gear (no power problems there) and hire a generator to power the compressor. Until then I’ll just have to be patient!‘ and that is sorta what happened. I tipped the shell over onto two matresses and if I remeber correctly it was held in that position with ropes &  jacks. Shortly after I got two ‘frames’ made from angle iron, by a local fabricator, which bolted on the front and rear bumper mounts to support the shell meaning I could dispense with the matresses.

The shell has sat in that position for about 20 years and the problem now was how to tip it back again!!  It was quite central in the lock-up so if you tipped it over it would hit the wall so how was I going to over come this. Also, as the frame were square it didn’t make tipping it over easy. After days of planning I set to work and it wasn’t too difficult. I hacksawed the corners off the frame and started tipping it the using a combination of piles of tyres and some ropes & chains attached to the frame gradually jacked one side up until it hit the wall. Then, by removing tyres and gradually slackening the ropes and dragging the frame by hand it slid down the wall  and back onto its four feet – hooray. The pictures will give a better illustration of this.
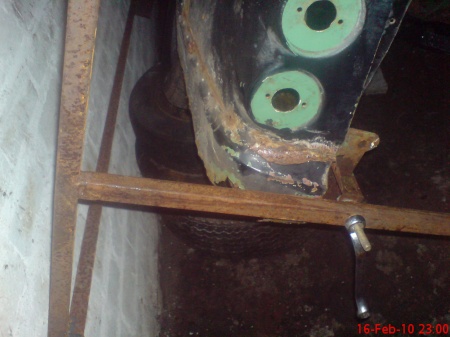
frame hits wall
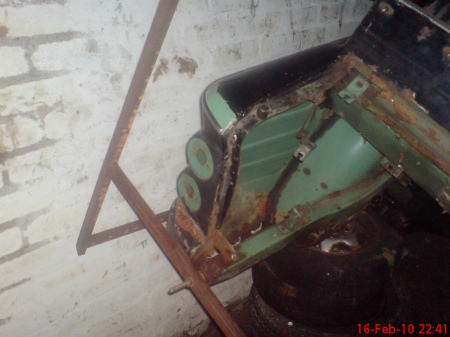
another view of frame-versus-wall situation
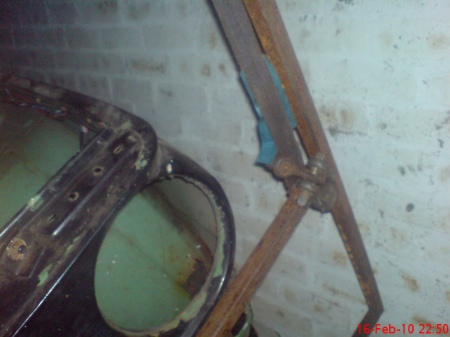
similar situation at front
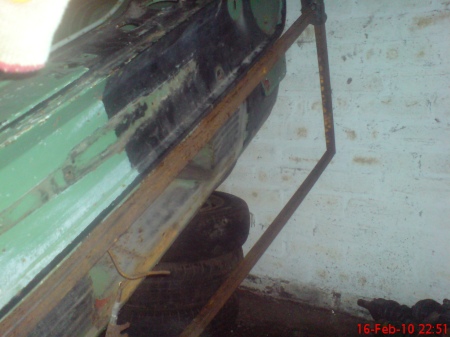
restoration effort in 1993 consisted of scraping 1980's cellulose 're-spray' off to reveal original Glenalmond Green
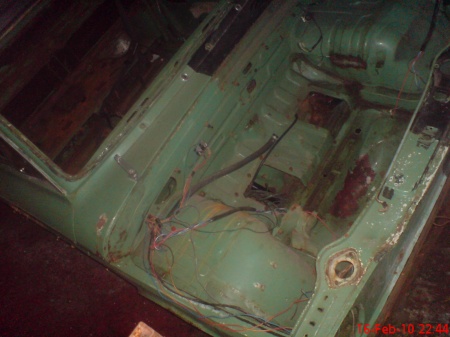
front view part way thru tipping process

shell would come down right next to wall but frame is wider so prevented this but also hekped to cushion the blow
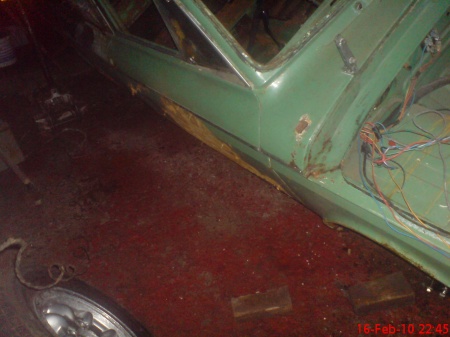
wheels left off side on grounduntil shell over far enough to get jacks in
put on your boots

March 3, 2010


In the last installment I had fitted the front shocks and was planning to get the shell moved somewhere safe and dry.

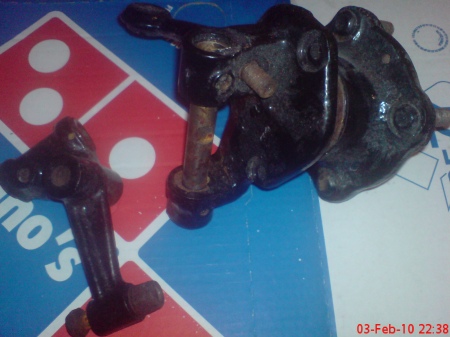
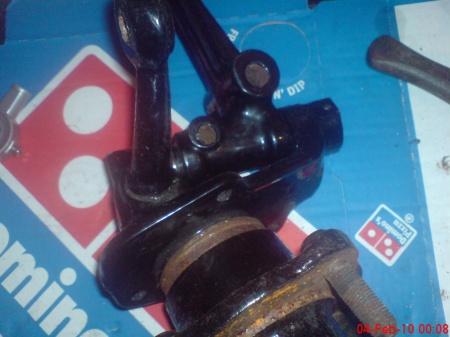
To do this I need wheels and steering. I had all the metal fittings from the Imp powder coated around 1993 and they have been in storage in various tubs since then. I dug everything out and wasn’t too impressed with the condition of the parts after all the trouble I went to all those years ago to have them re-furbished (sometimes I was getting a bus with a rucksack full of bits to drop off/collect bits from the powder coaters which was about 15 miles away and other times my brother wasted his Saturday mornings taking me there) and I suspect now that the parts weren’t done very well as some of it looks pretty thin and rust is coming thru.

When assembling the suspension there is inevitably some tapping-into-place-of-parts which cracks the powder coat off (rear hub/driveshaft and front kingpin carriers for example). I wasn’t too bothered however as I will be refurbishing several area myself when the time comes so the ‘cracked off bits’ weren’t too annoying.

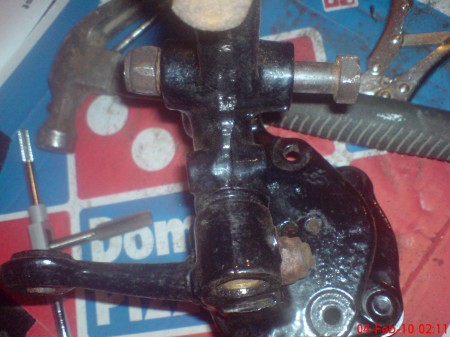
The various threads cleaned up well with a cheap tap & die set I bought and it is all on the car now. I was amazed at how easy it was to change the steering arm bushes:

 I have several old Yamahas motorcycles and removing the swing arm bushes on them by pressing or drawing out is practically impossible so they usually need to be cut out. I expected to have to do this with the Imp parts. The original bushes melted during the powder coating and I tried to buy ‘slave’ parts from Ebay for the move. I got a couple of NOS inner track rods but haven’t managed to locate the half with the ball joint or the long fixed one but at least I could use the bushes out of the Ebay bits. I feared I’d need to cut away the metal round the bush on one of the Ebay parts to free it and put it in the original part. For some reason I had a quick shot at pressing it out with sockets & a vice and it was out in no time : )  

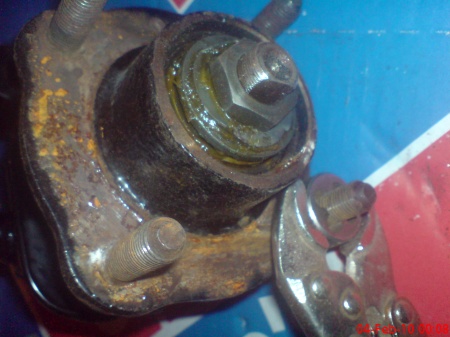
using die to clean threads. no room for T-handle so used mole-grips

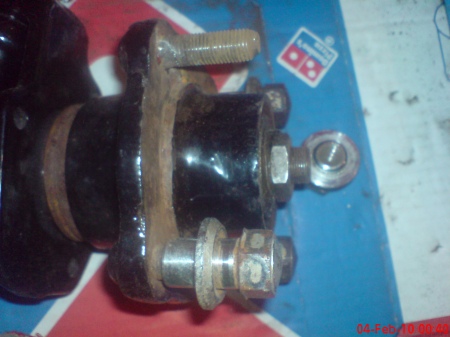
original Tech Del sleeve nuts wound onto newly cleaned hub studs

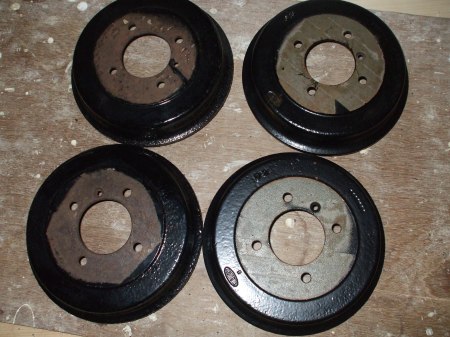
original front and rear hubs. actually same part both ends but if you look close my 'pairs' have different casting marks

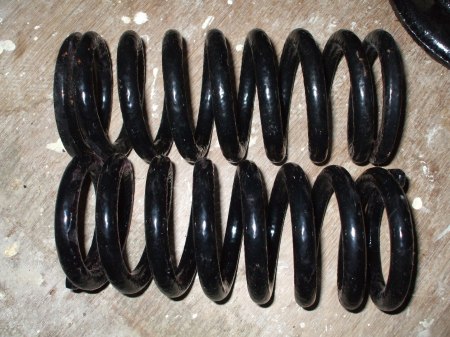
the original rear springs - powder coated many moons ago