I feel guilty about not being on here more often but the car is still very much firmly in my plans. I am just about finished my 1974 Daimler project and shouldn’t really be sidetracking to the Imp at all before that’s done but for various reason, this week, I ended up digging out all the original interior trim.
It has been carted around various addresses I’ve lived at and has lived in a large box under my bed for the last 15 years or so.
Even tho it is only inches away from me each night it was strange but re-assuring to see it still there and in much the same condition as when I packed it away years ago.
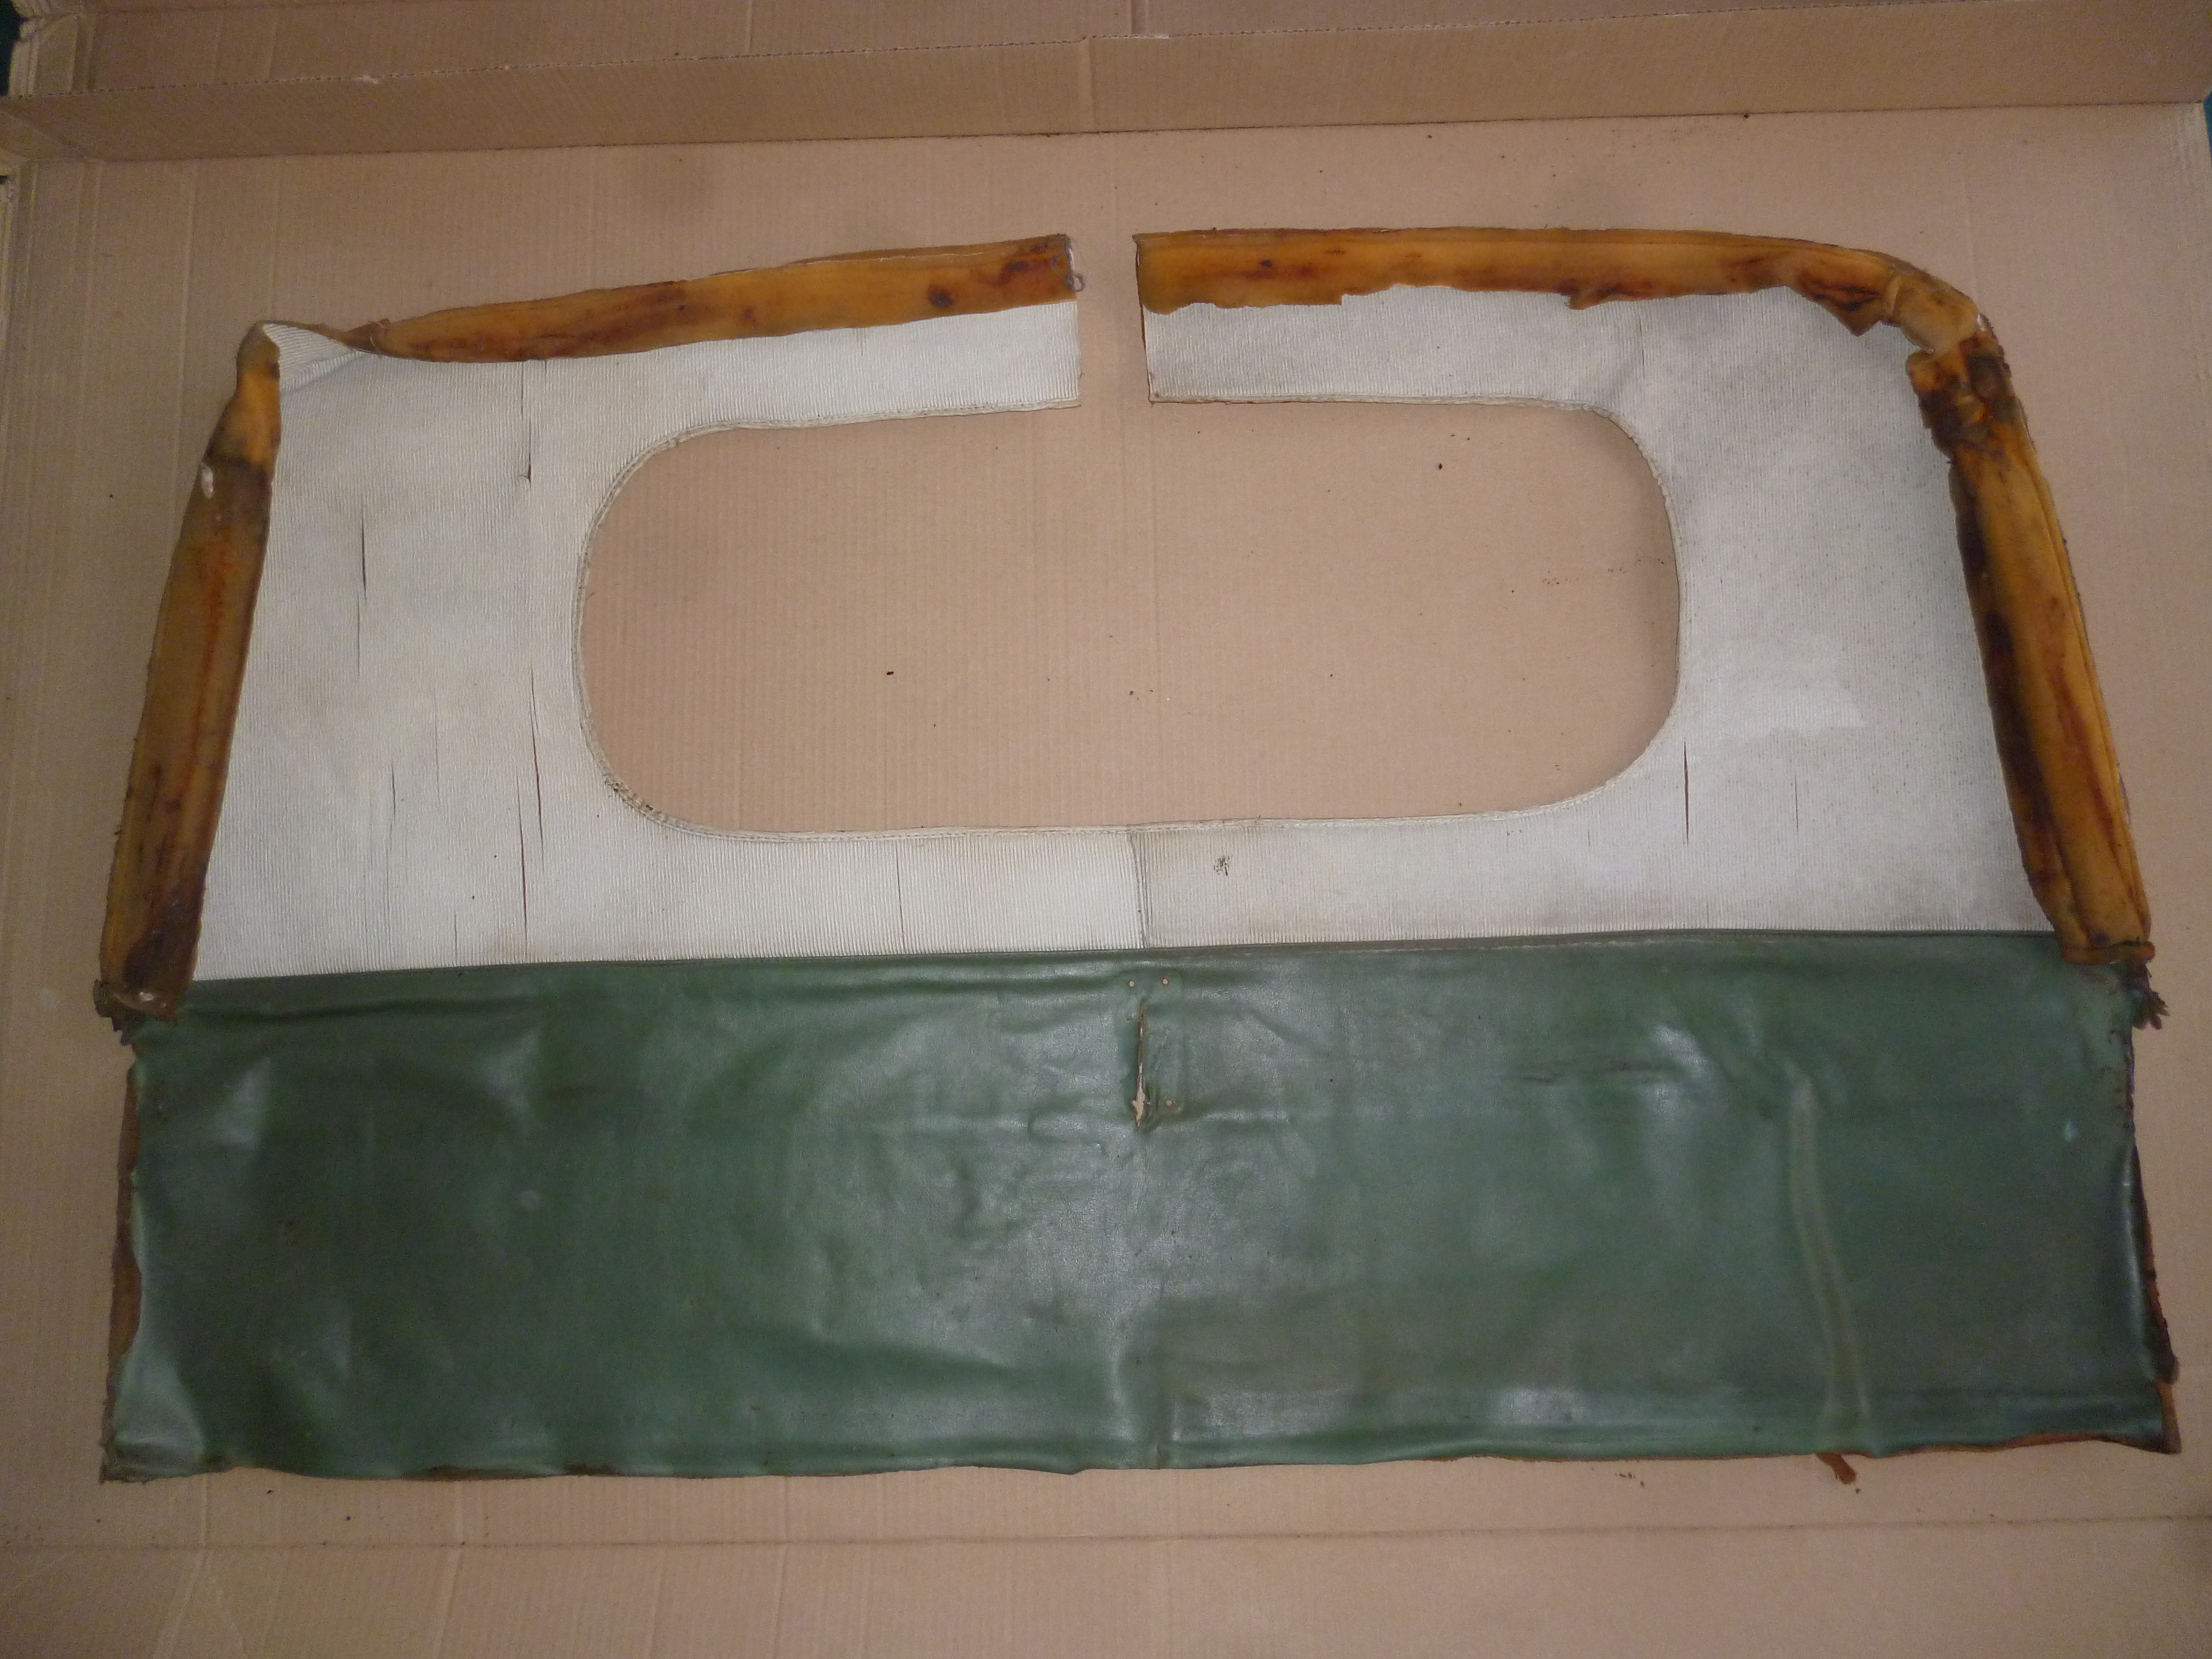
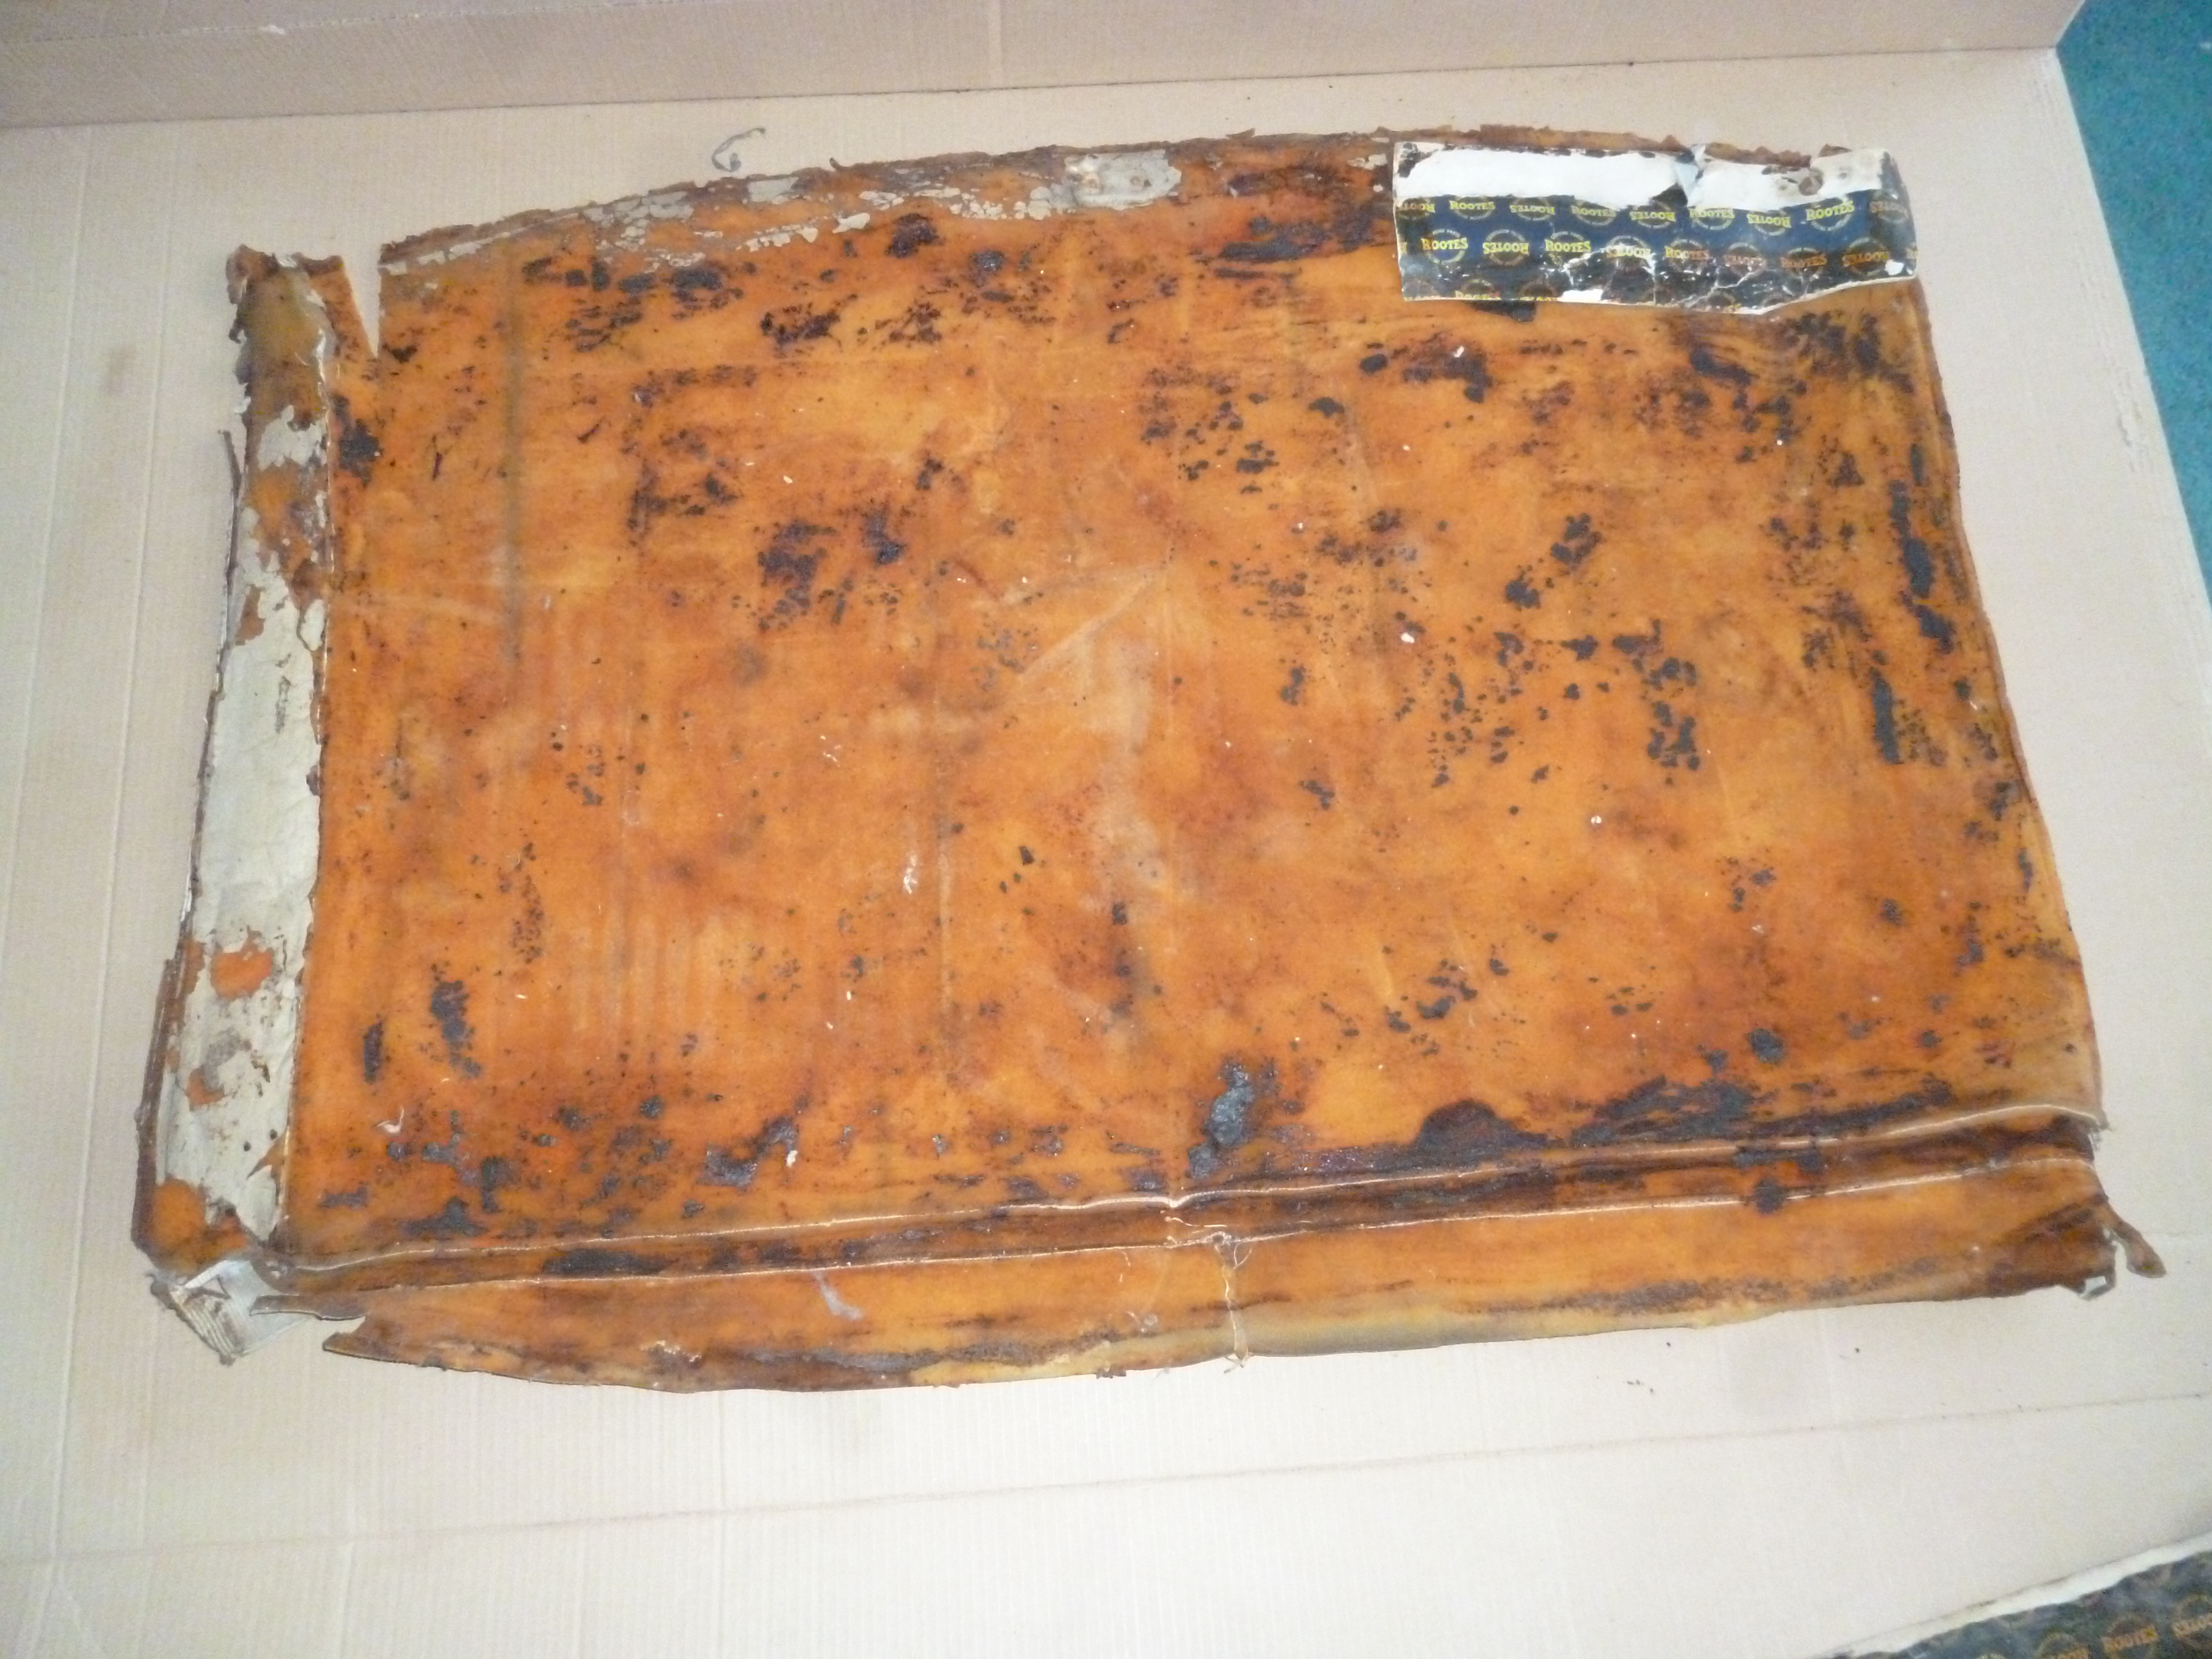
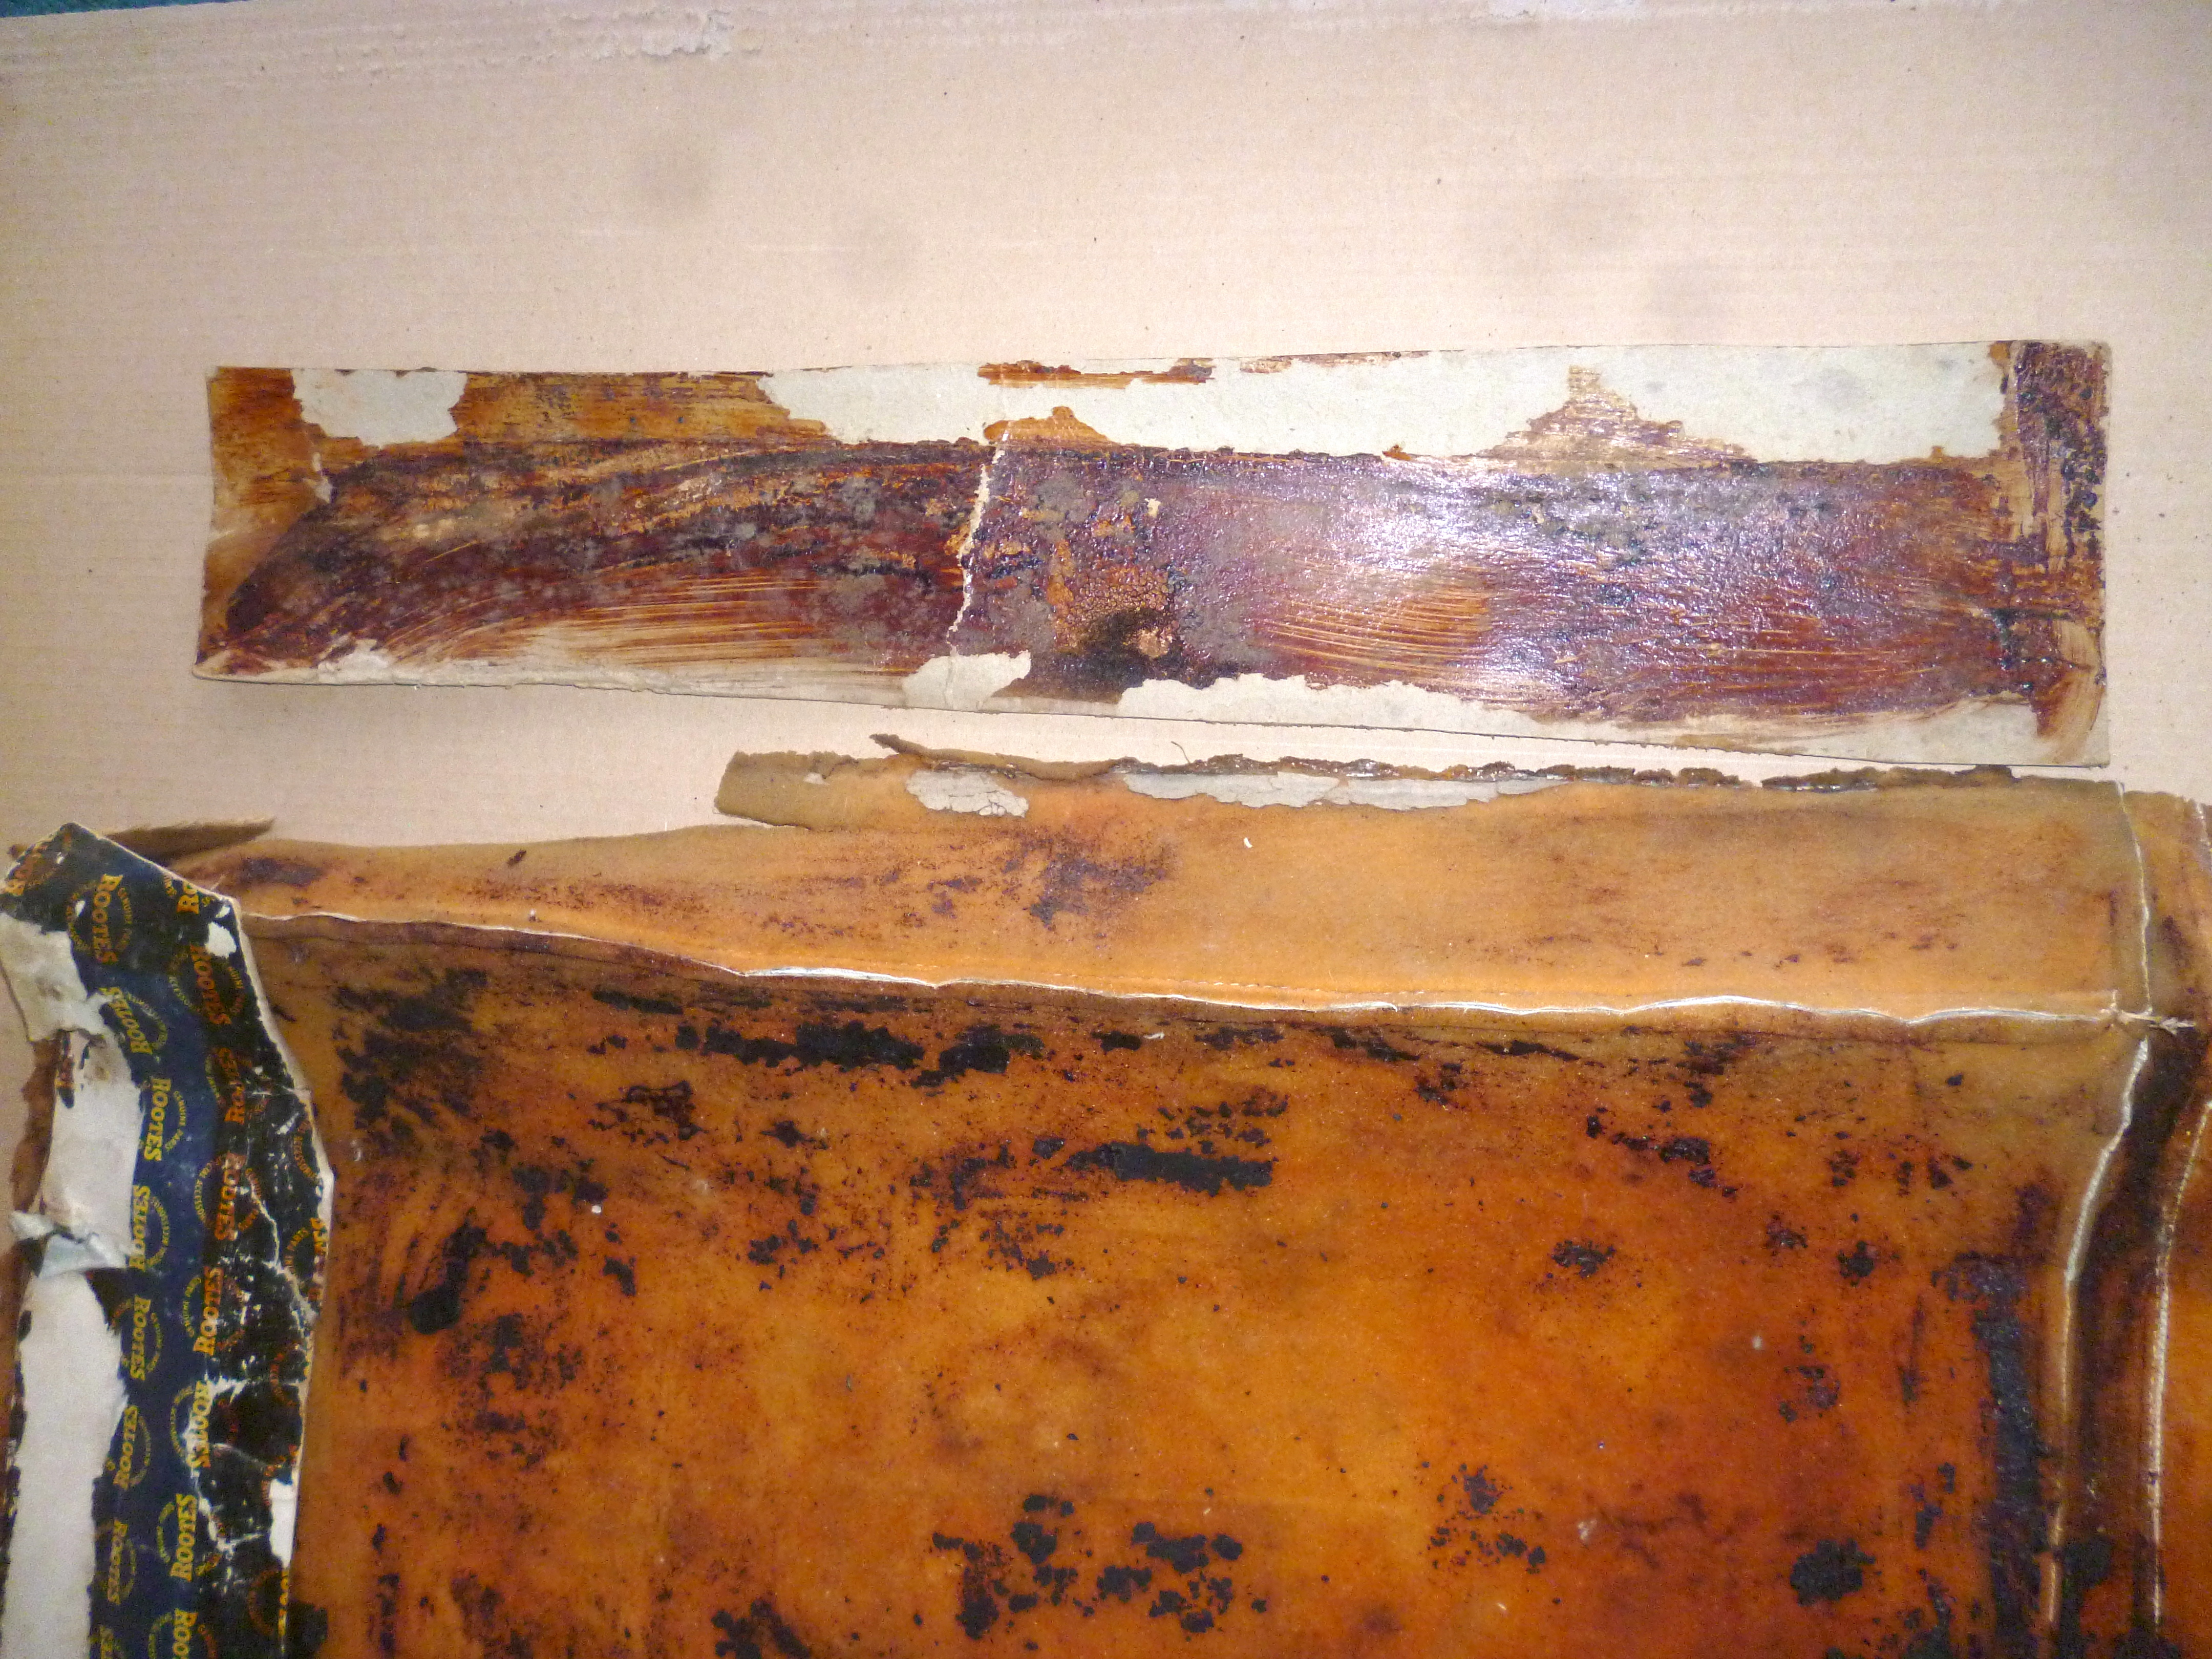
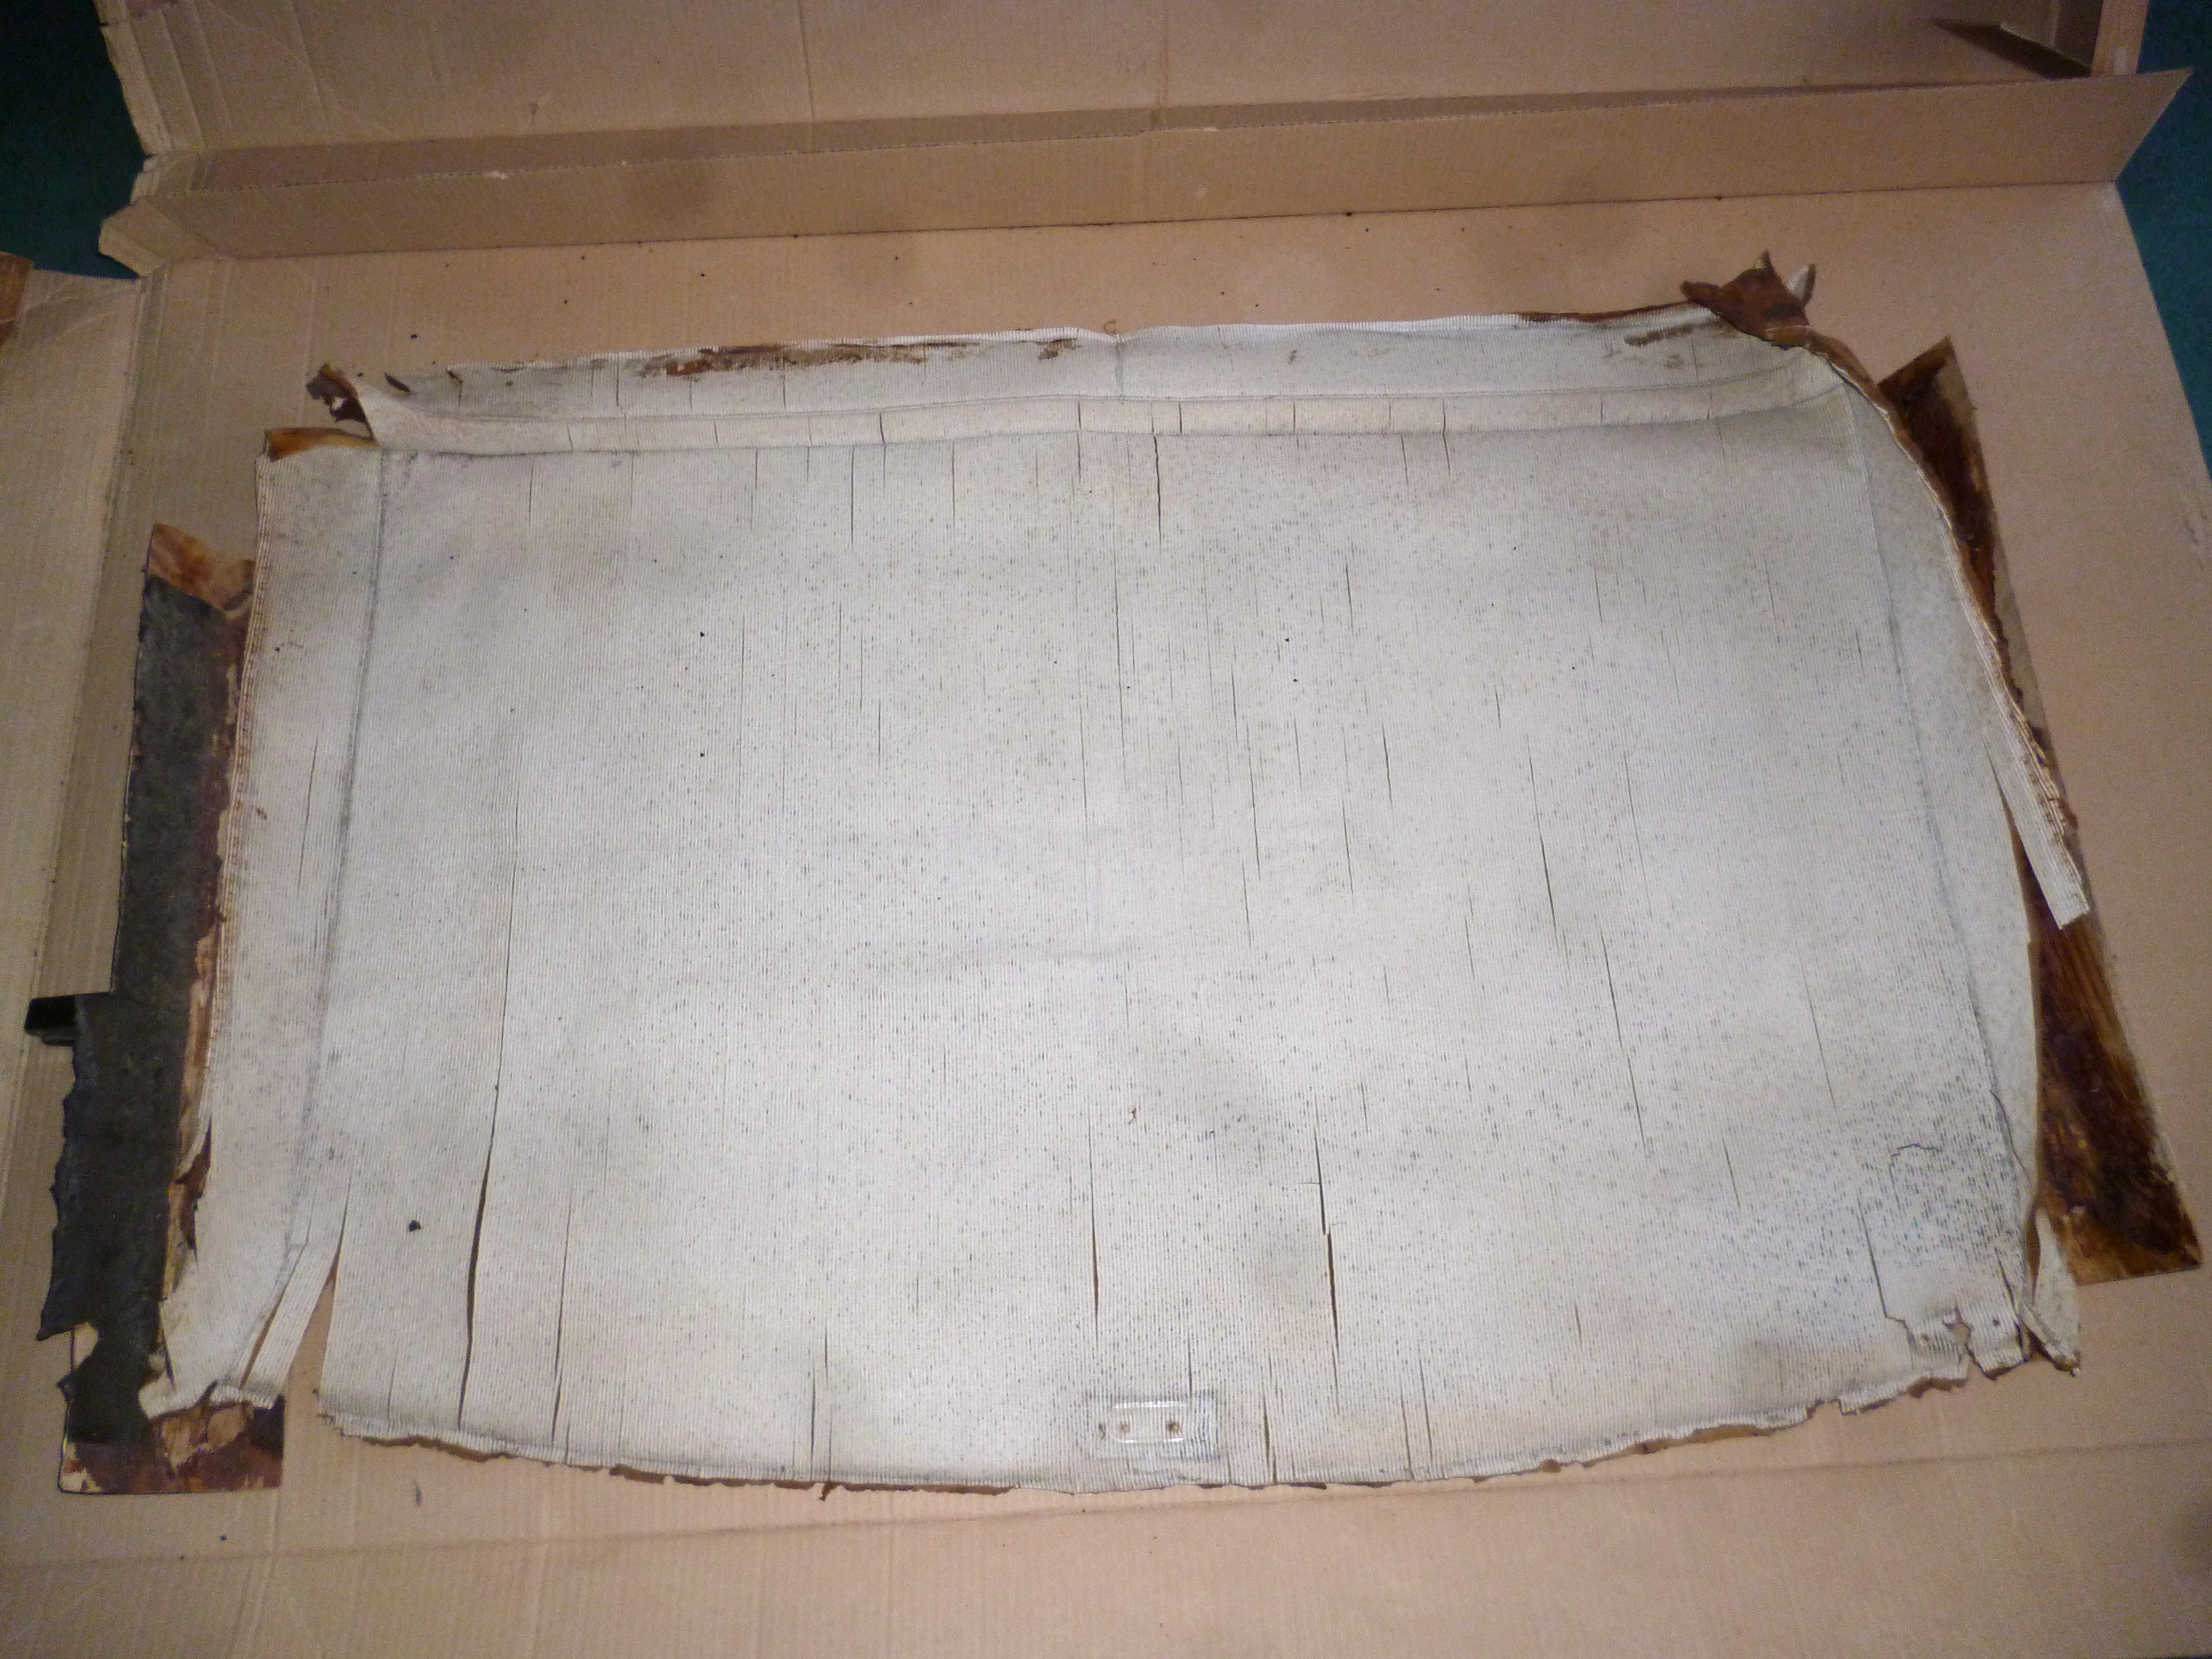
One of the many things that confirmed my pick-up’s ‘authenticity’ to me when I first worked on it was the presence of some Rootes Accessory cardboard boxes on the front and side edges of the headlining.
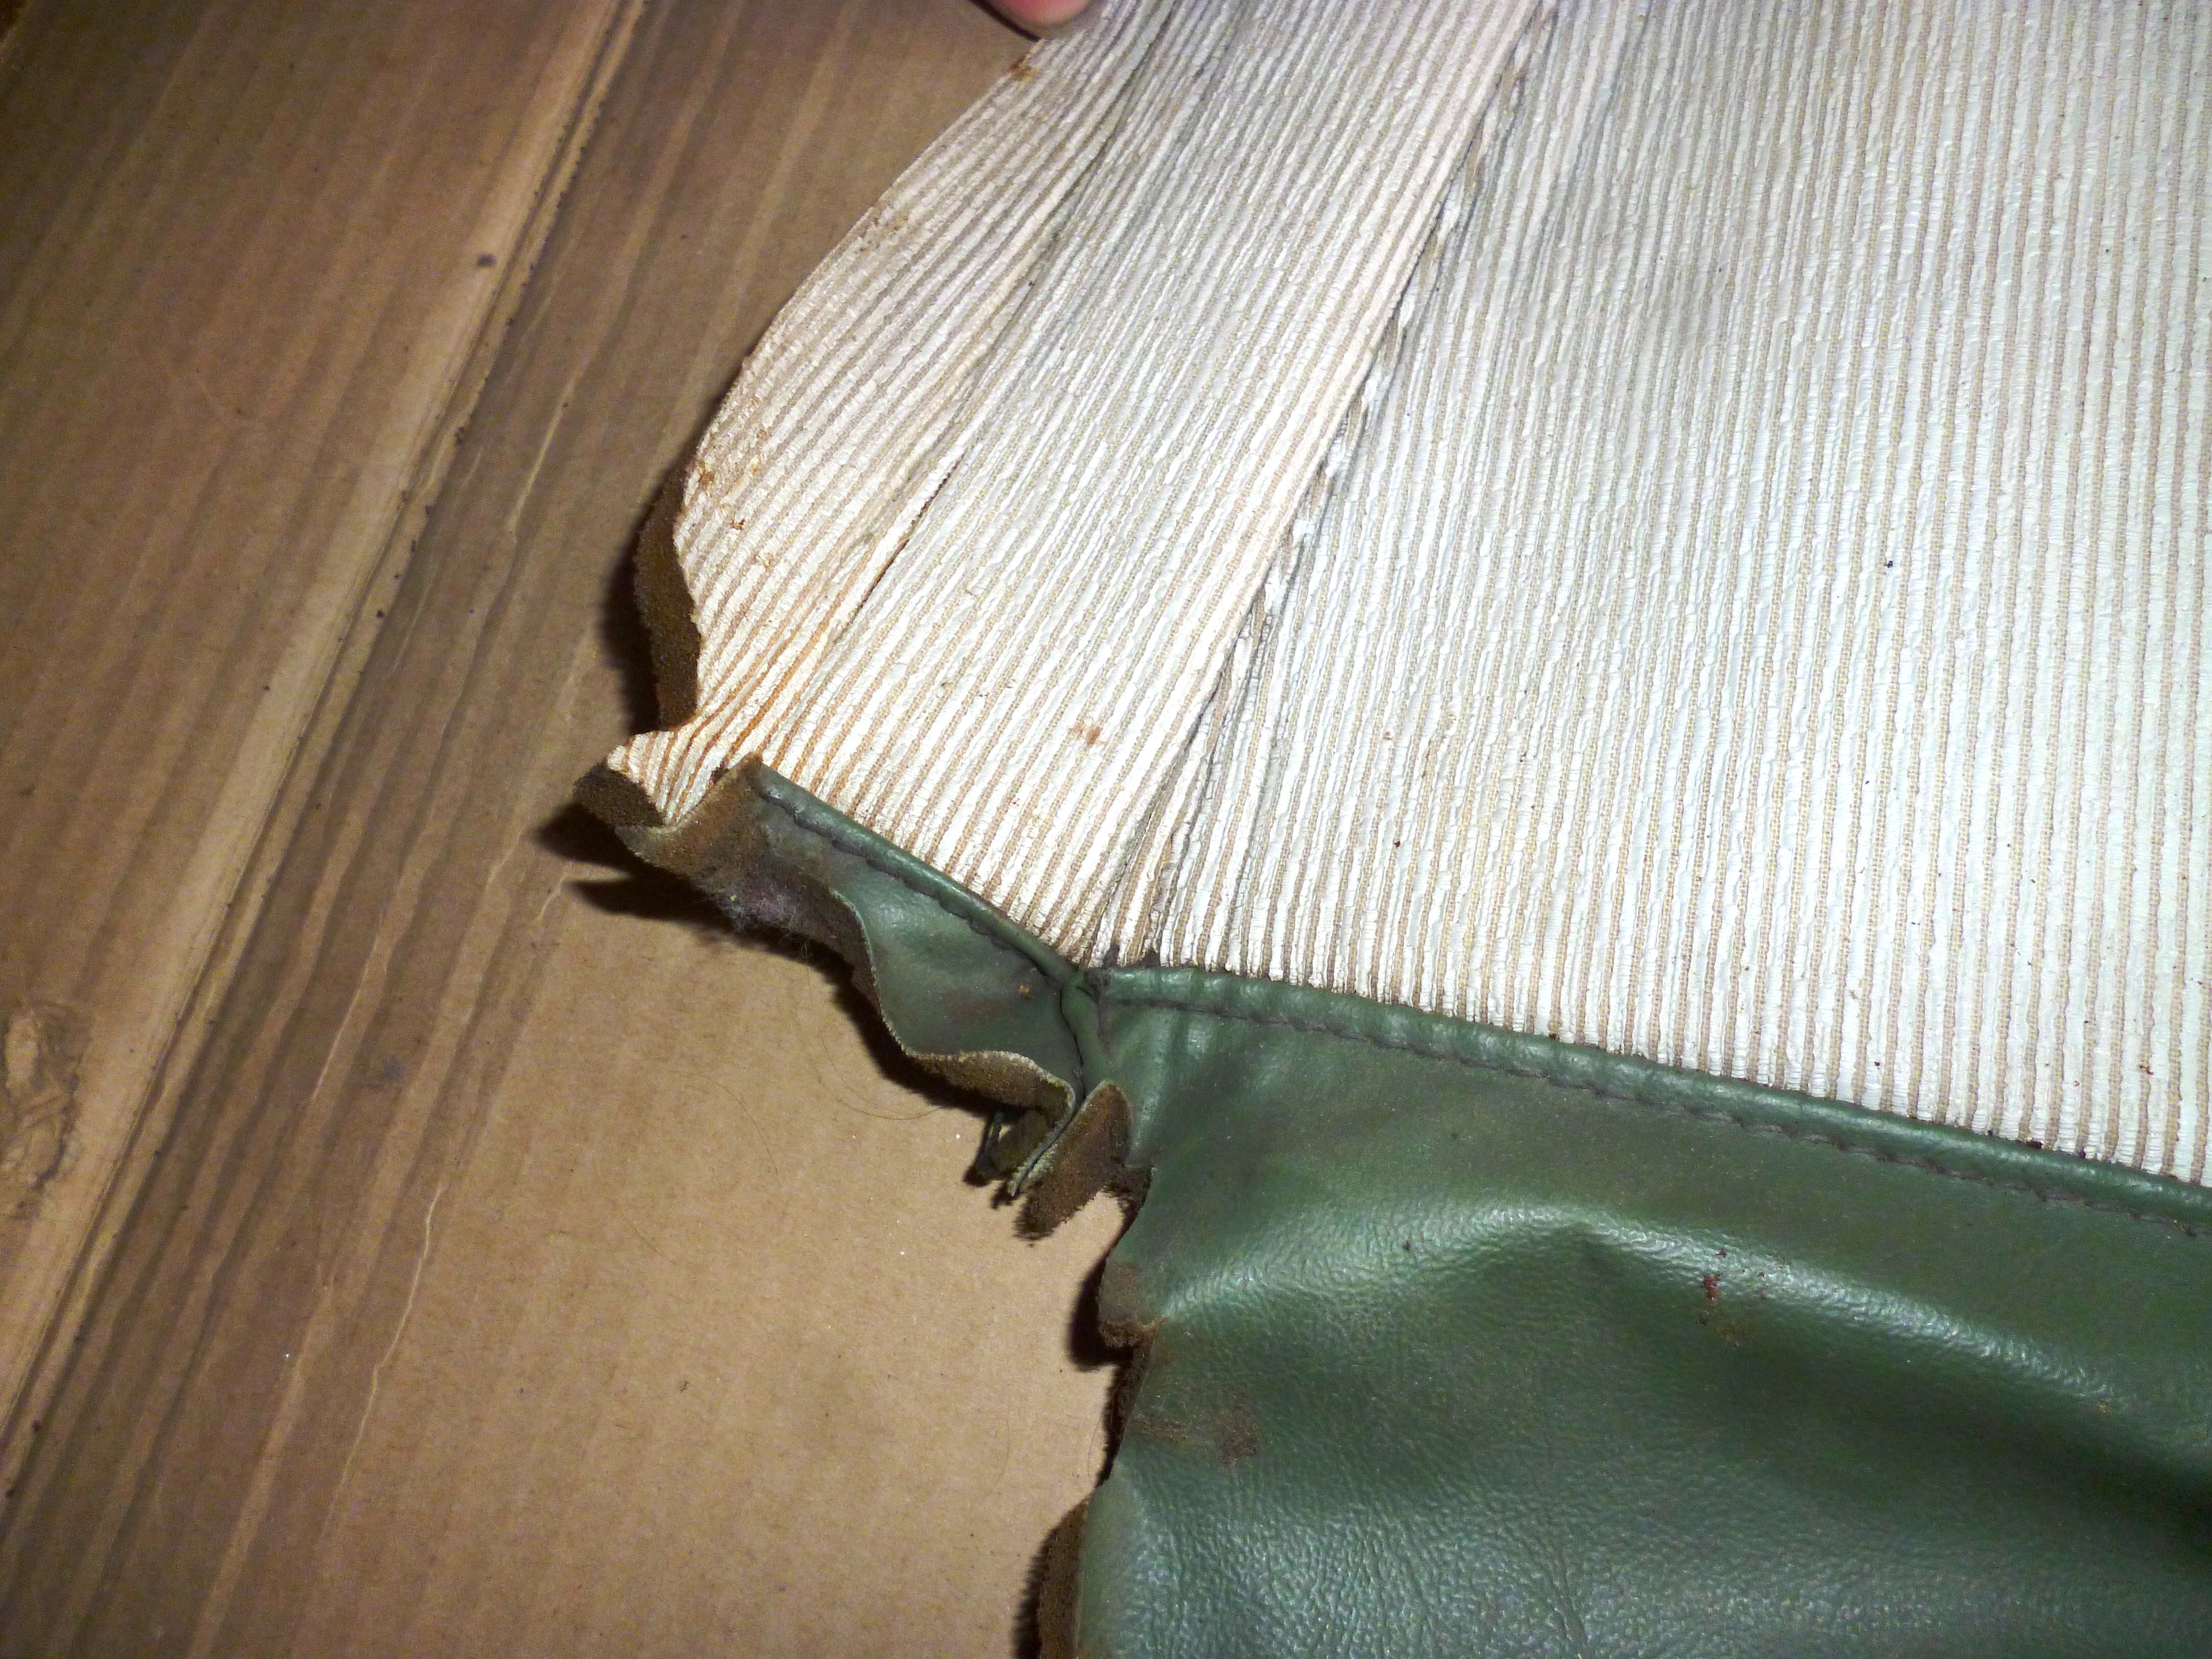
This may sound like a strange claim but put yourself back in the Rootes workshop (sometime between the 1965 chassis date and the January 1967 registration date) where the little project is being retrimmed. You have been handed the new interior trim: green vinyl (for the area behind seats up to waistline) sewn onto some OEM white headling material and half an OEM headling. You are trying to fix the headlining to the roof and decide you need something to stiffen the edges up.
You cut up some Rootes boxes that are lying around the workshop. They are then uncovered in 1989.
Now. In archaeology there are always theory and doubts and someone could reasonably suggest that the car was made at home by someone who got an un-registered 1965 Hillman Imp and converted it in a year and a half and also had some Rootes boxes to use after his wife knocked up the interior trim but I believe the first scenario is more likely and I remember when I found the cardboard not knowing all the history I do now it said to me that it was the Real Deal.
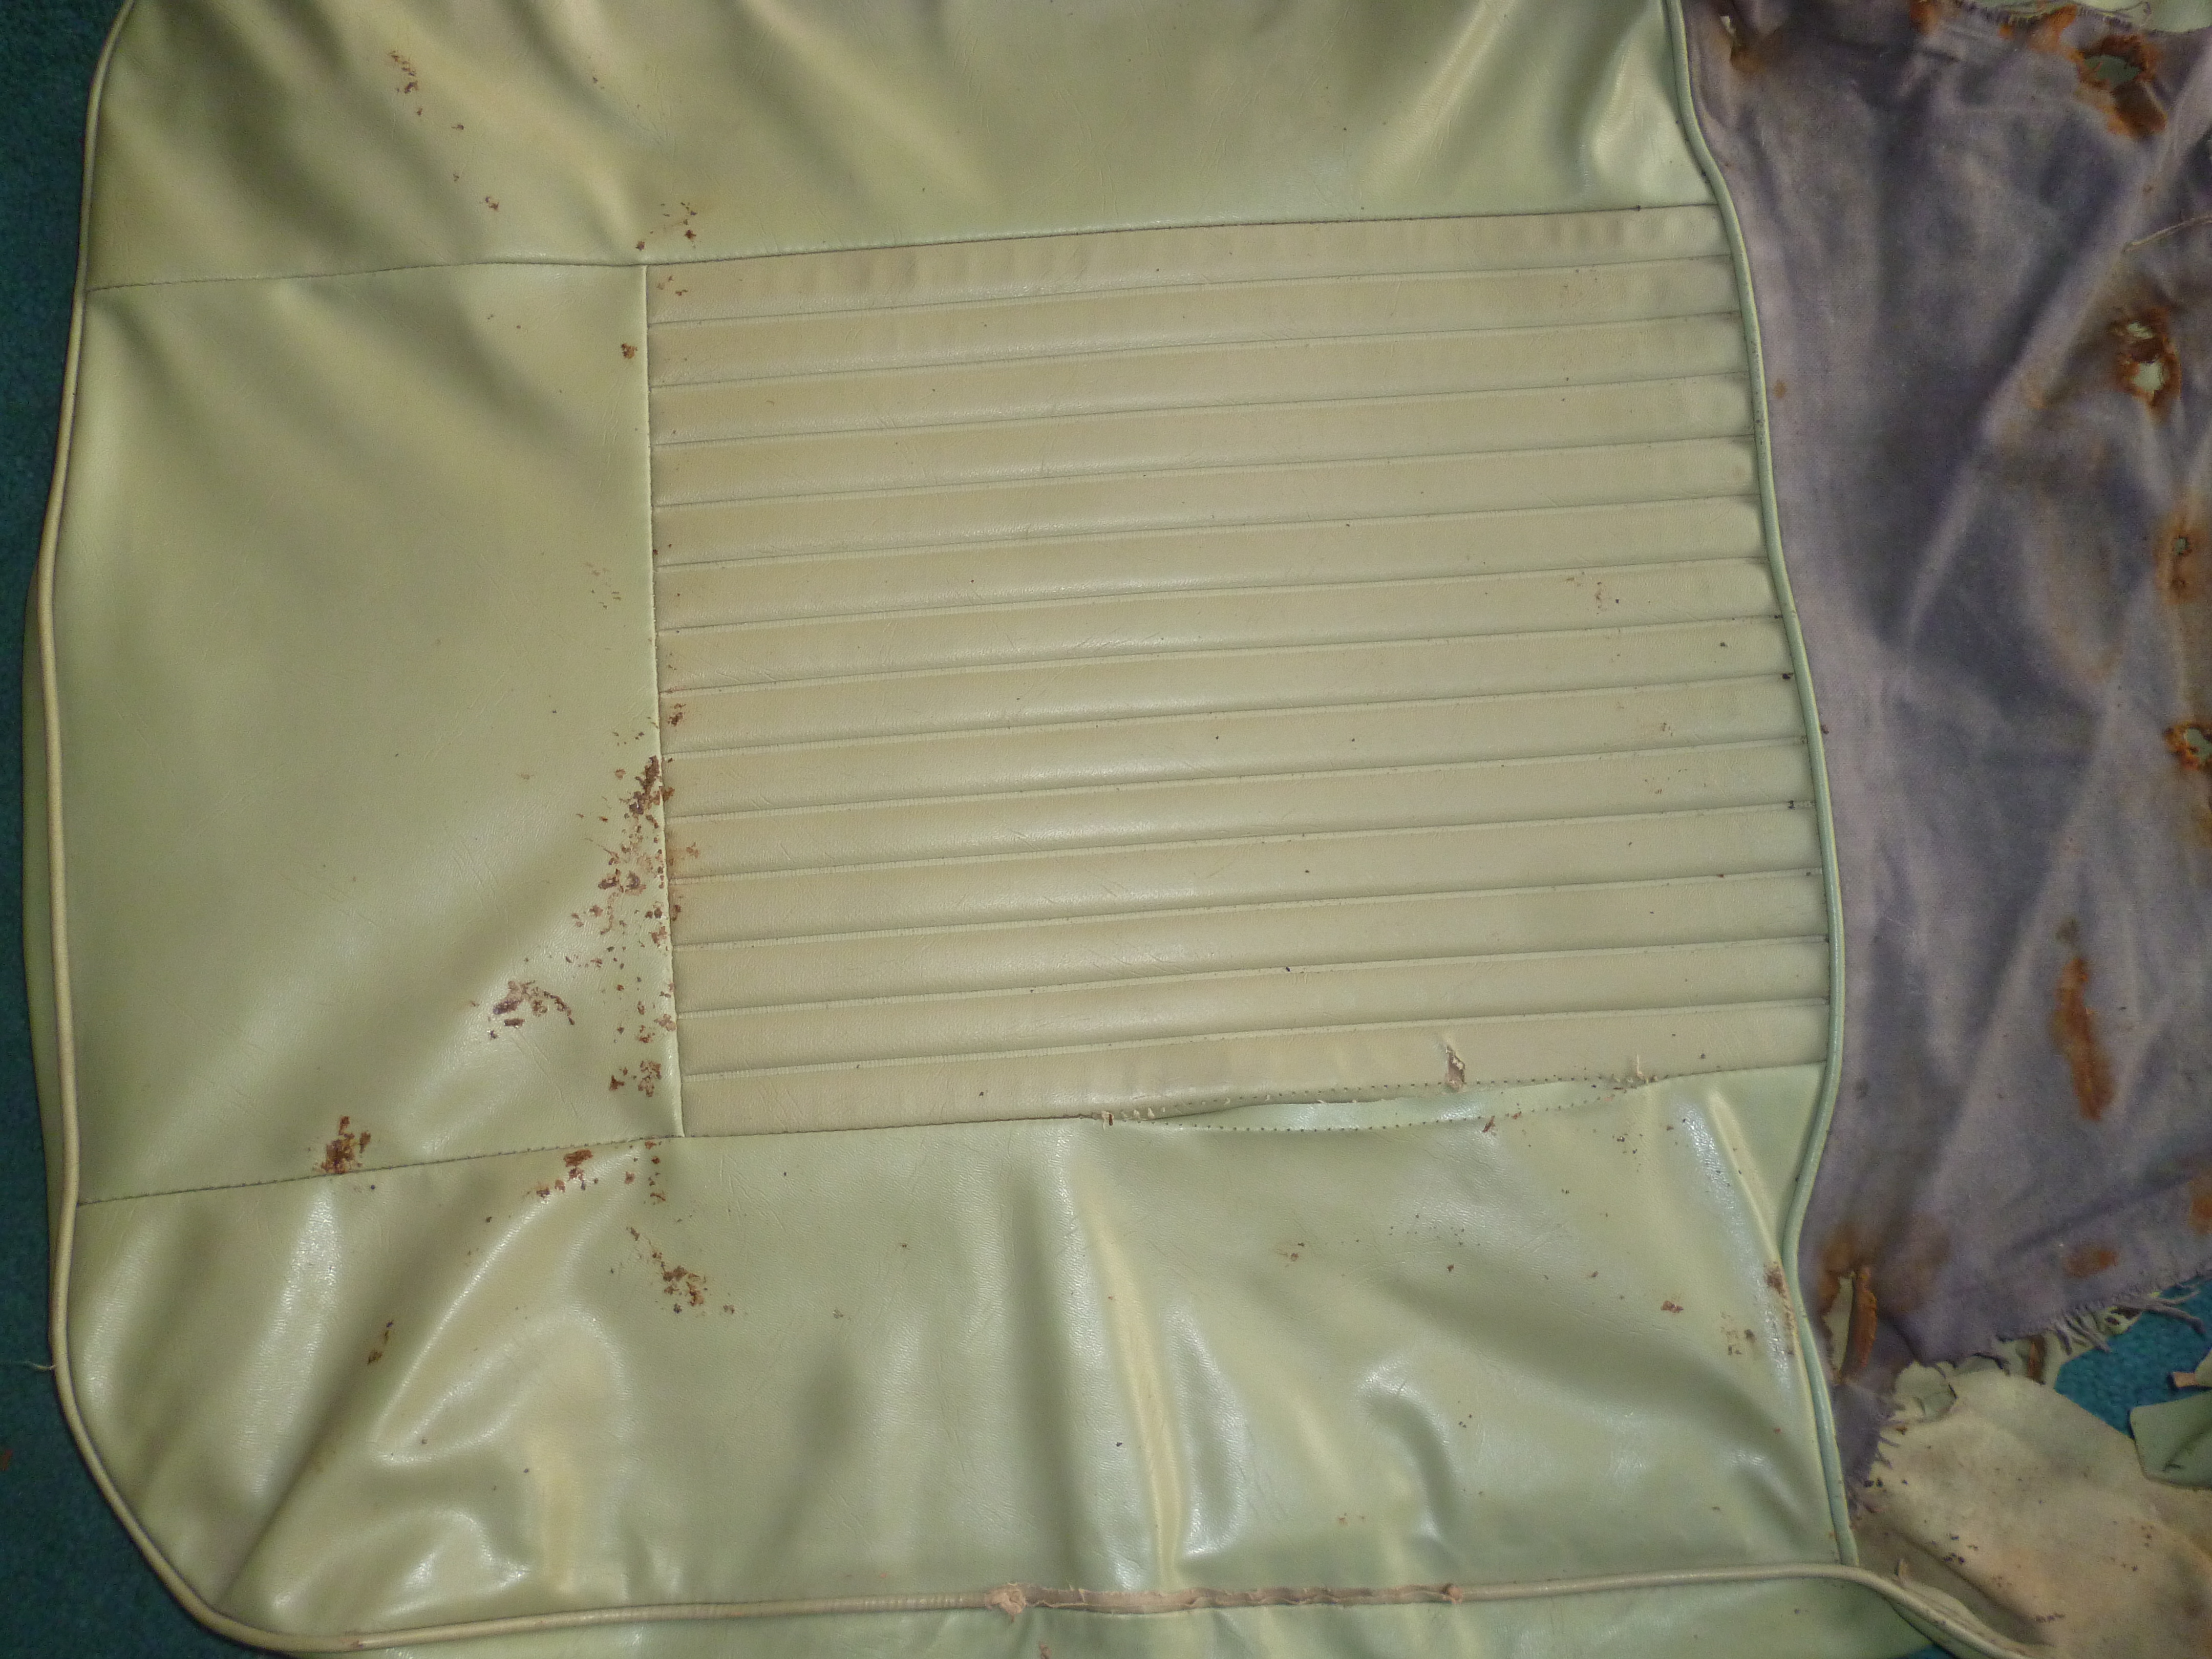
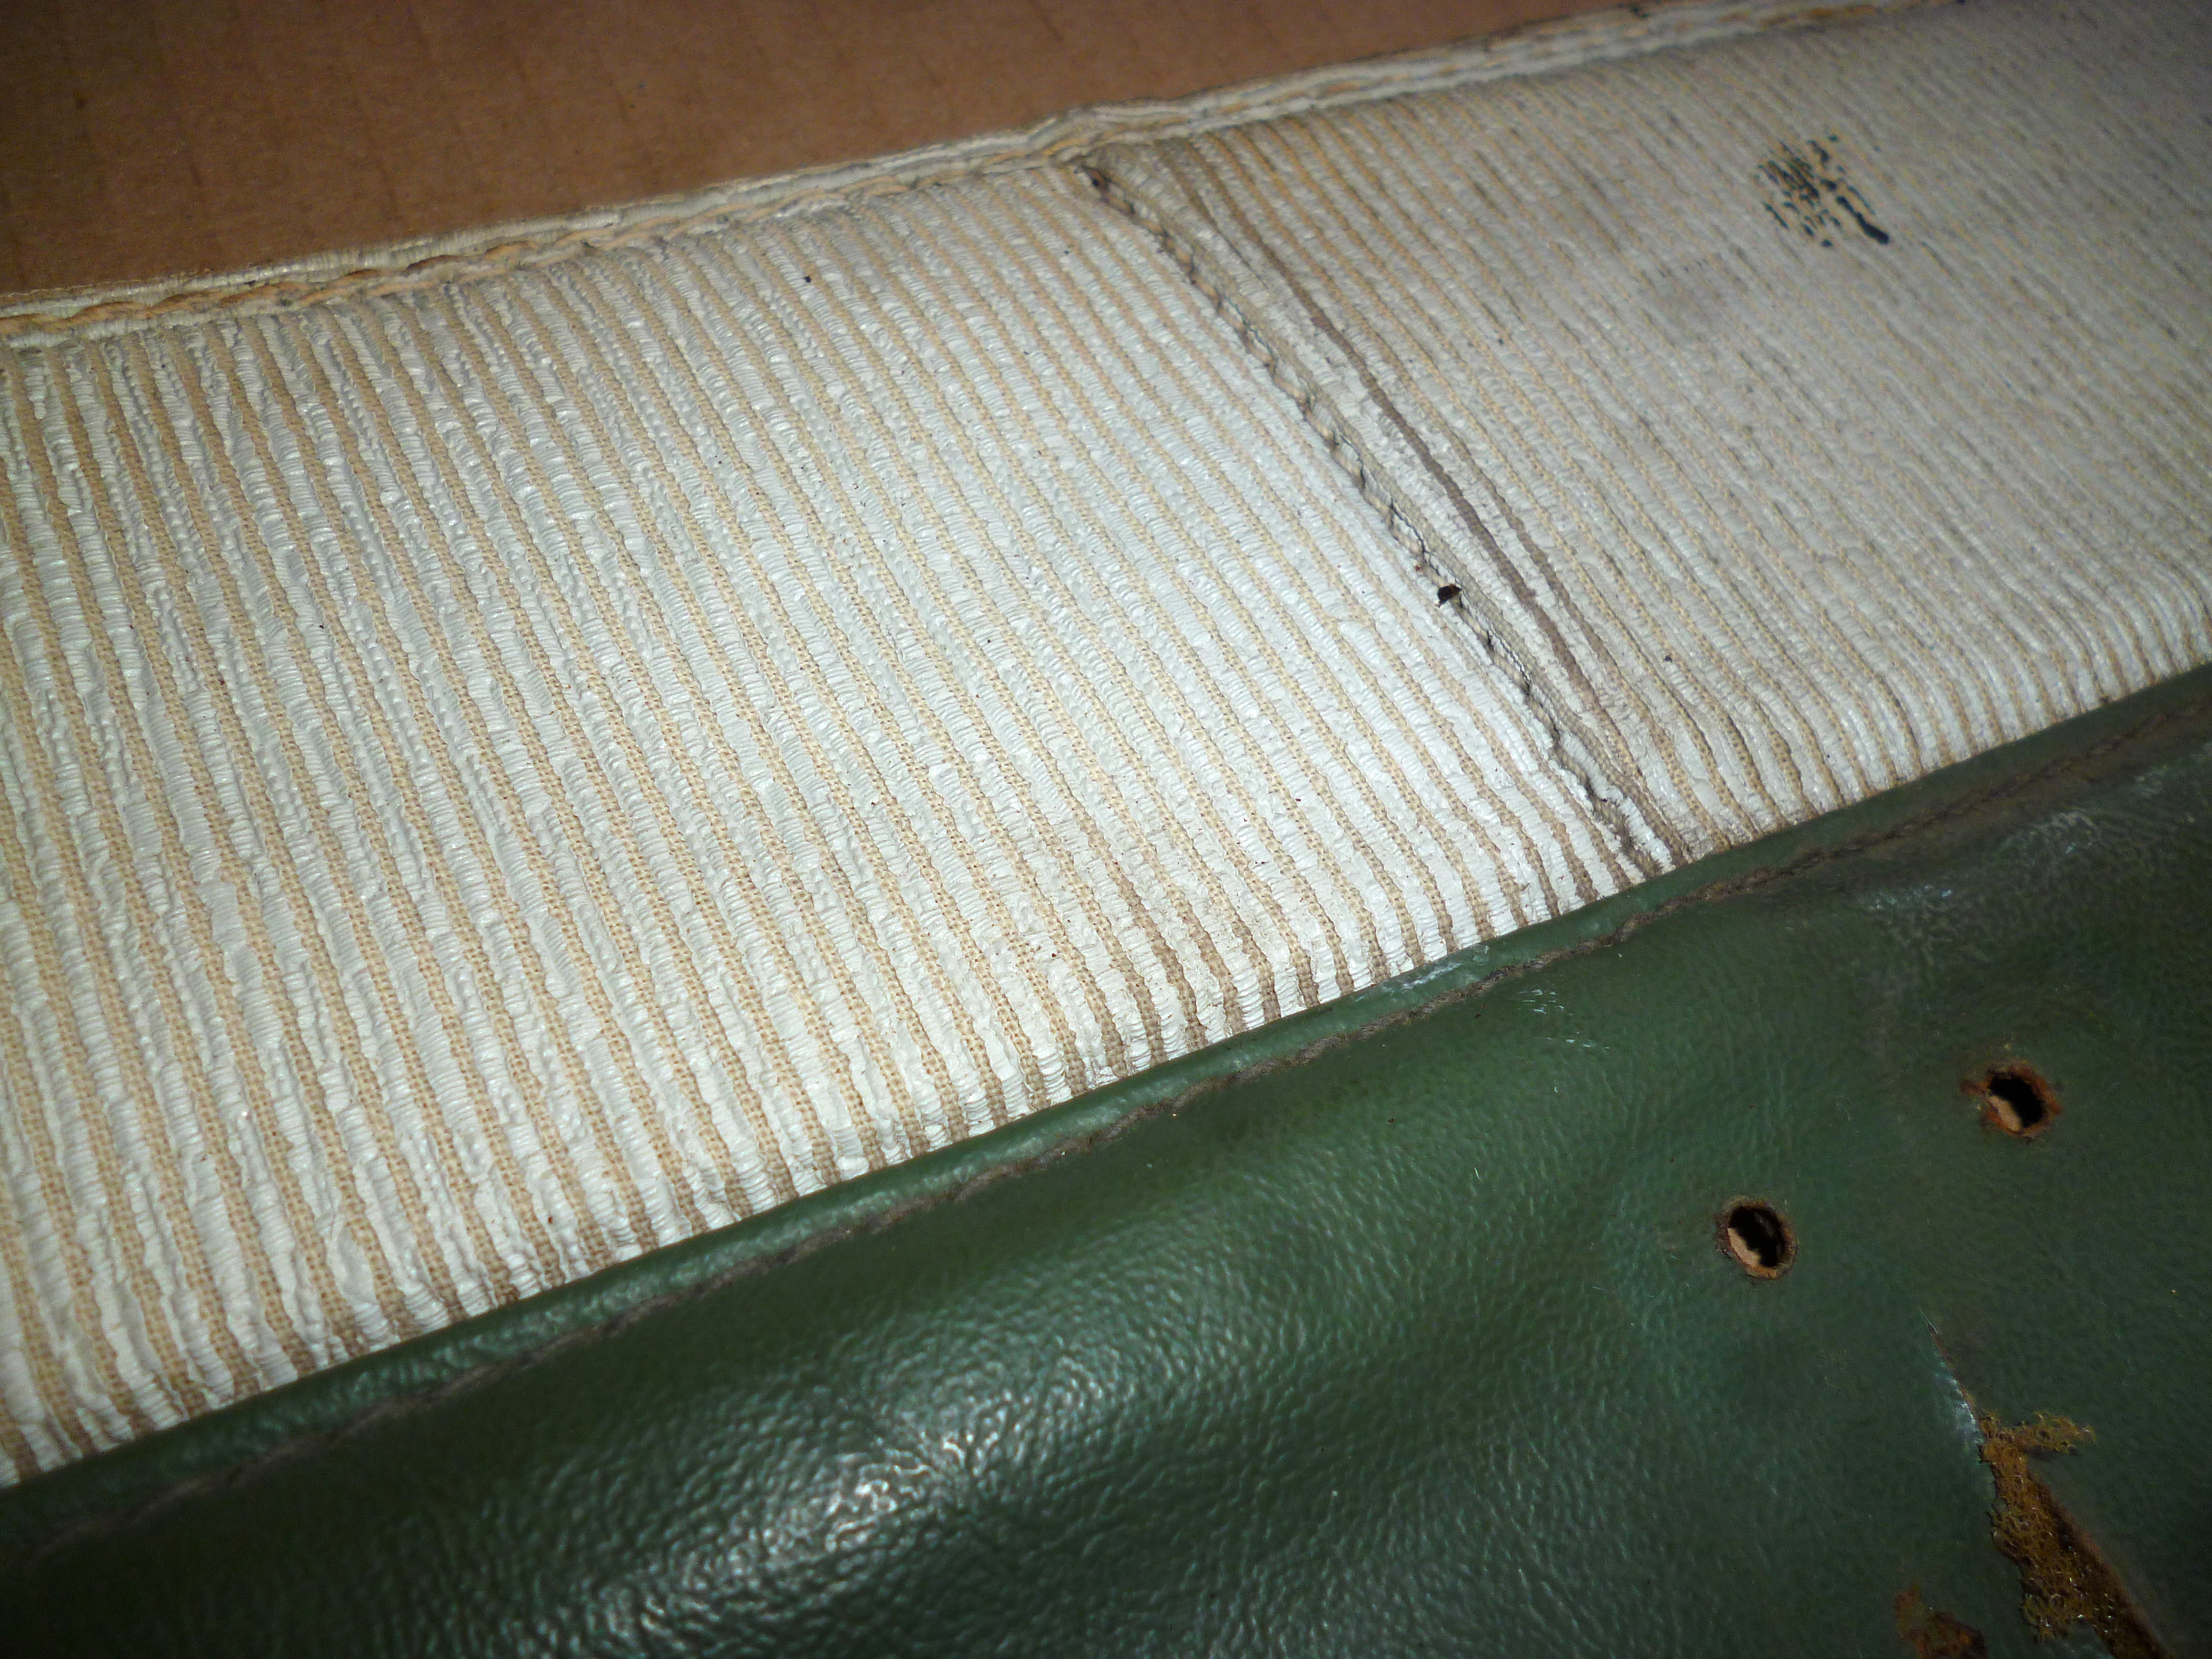
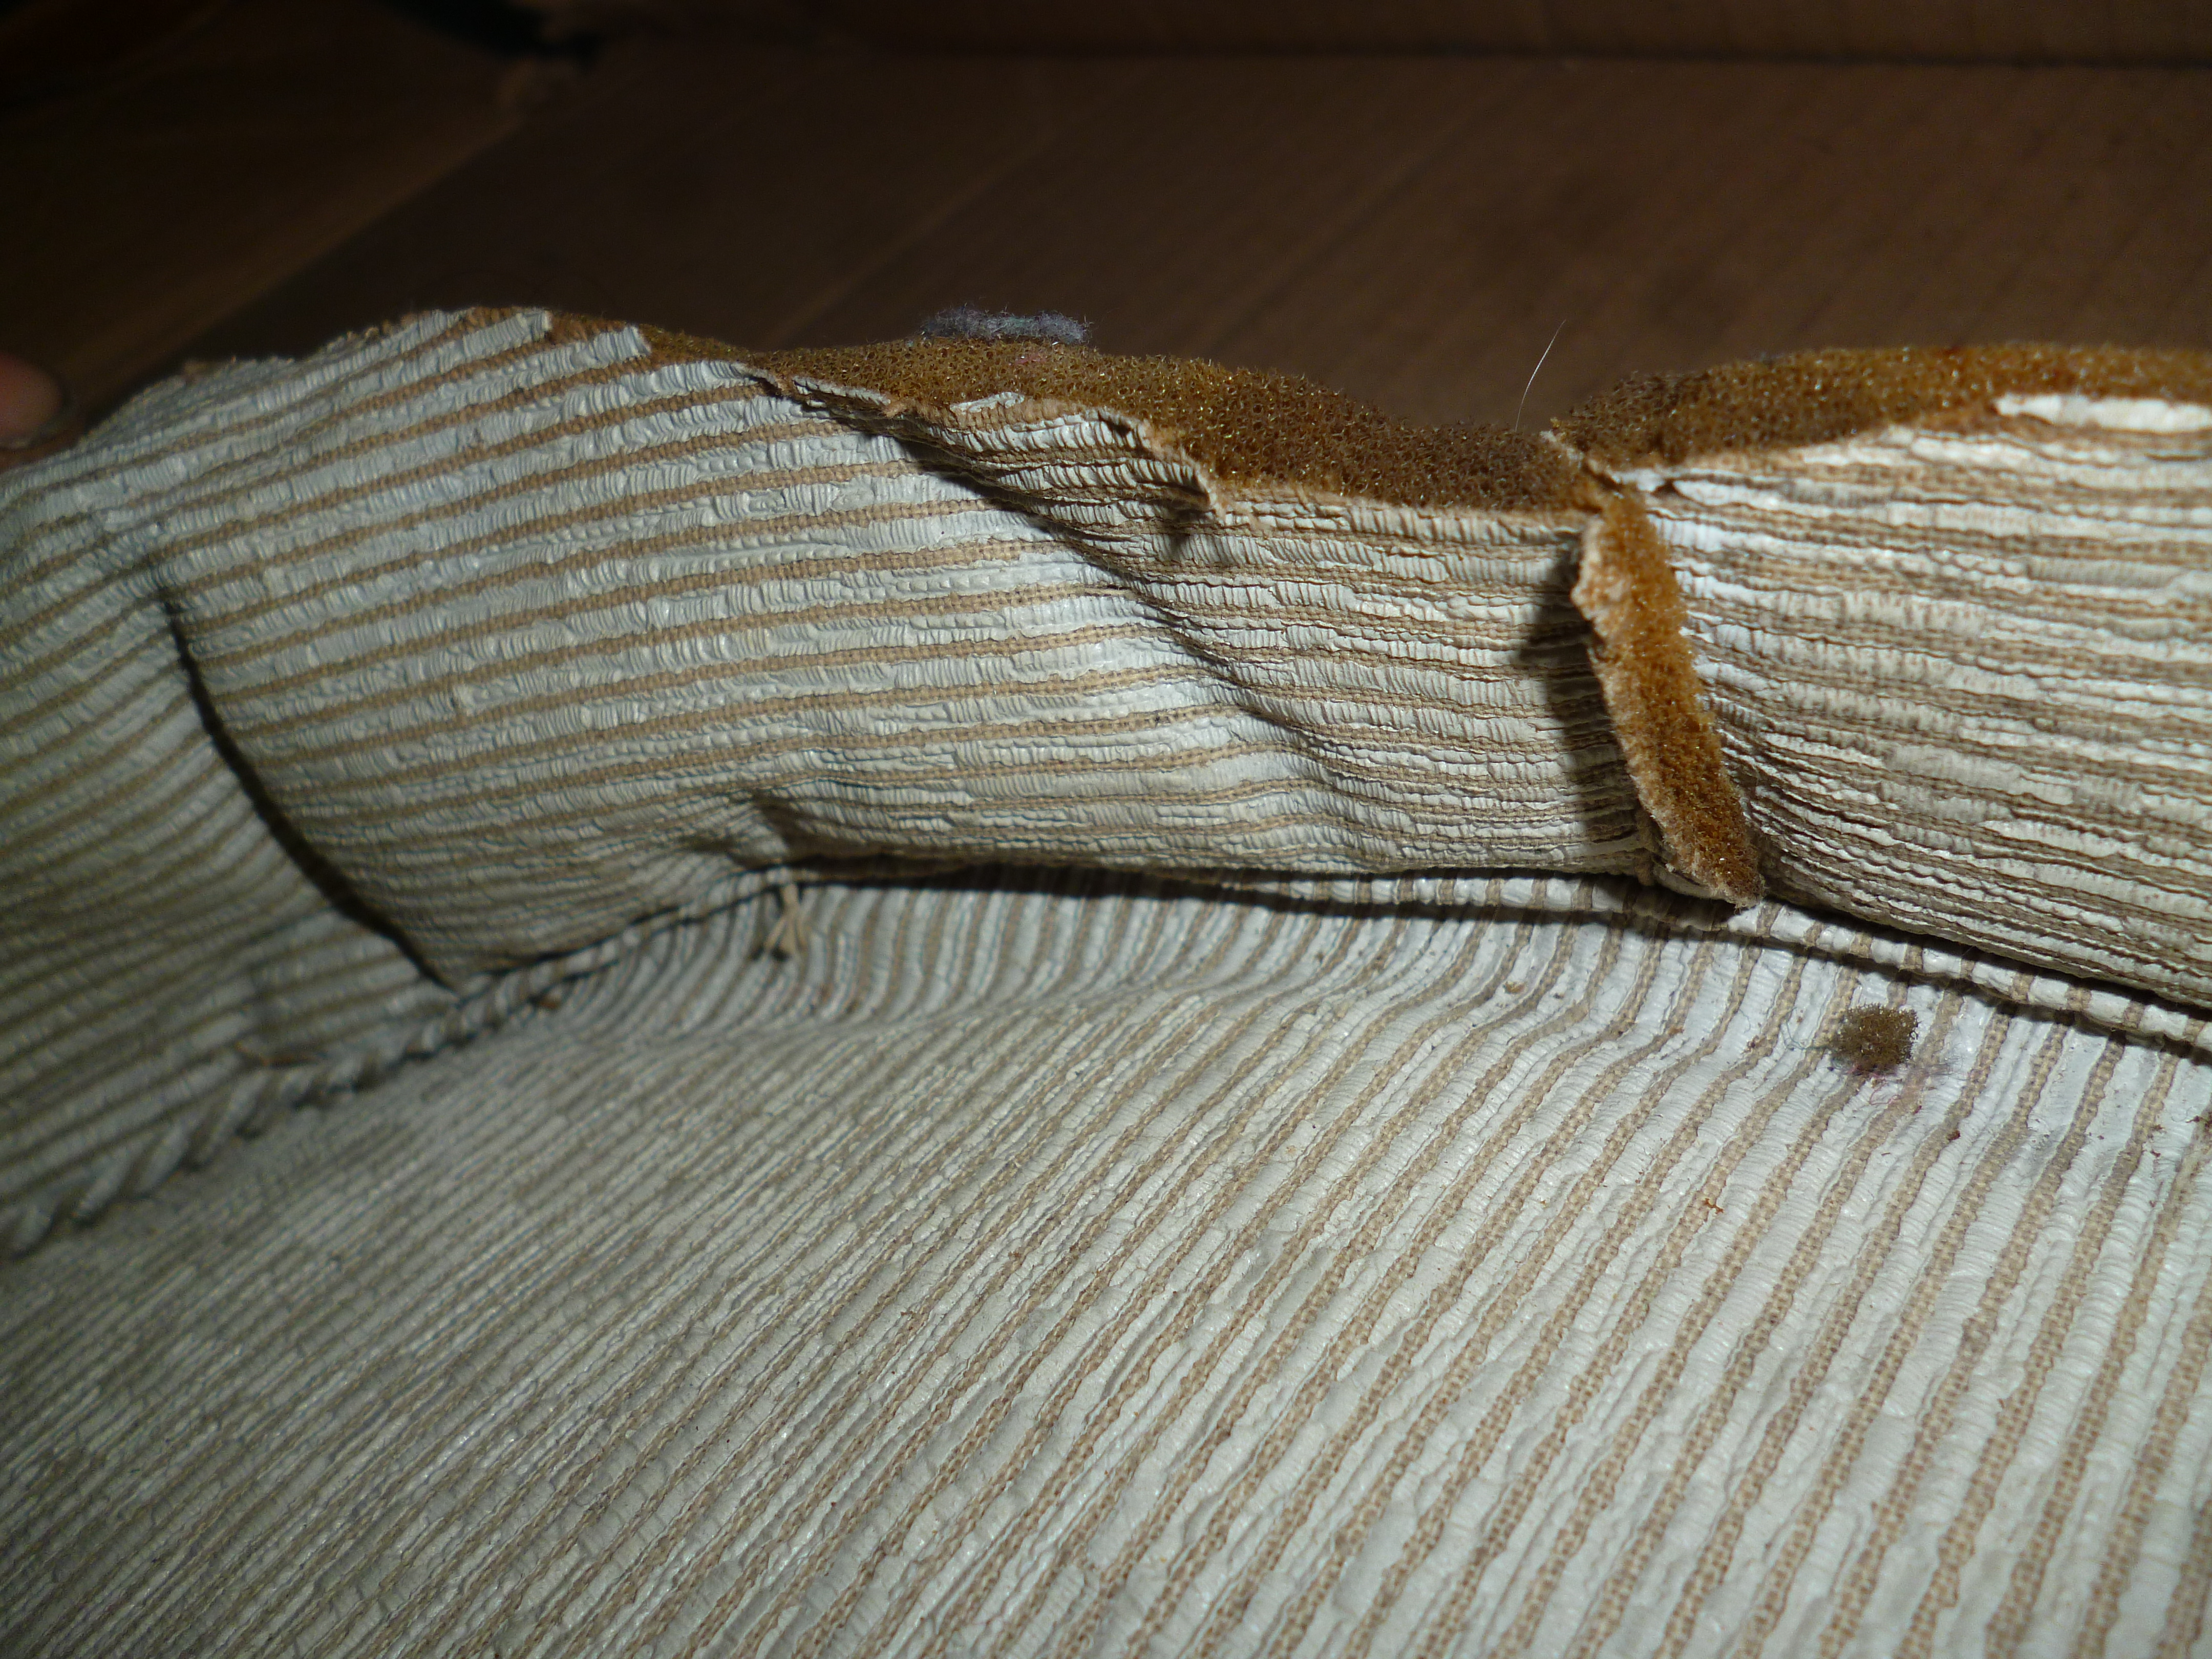
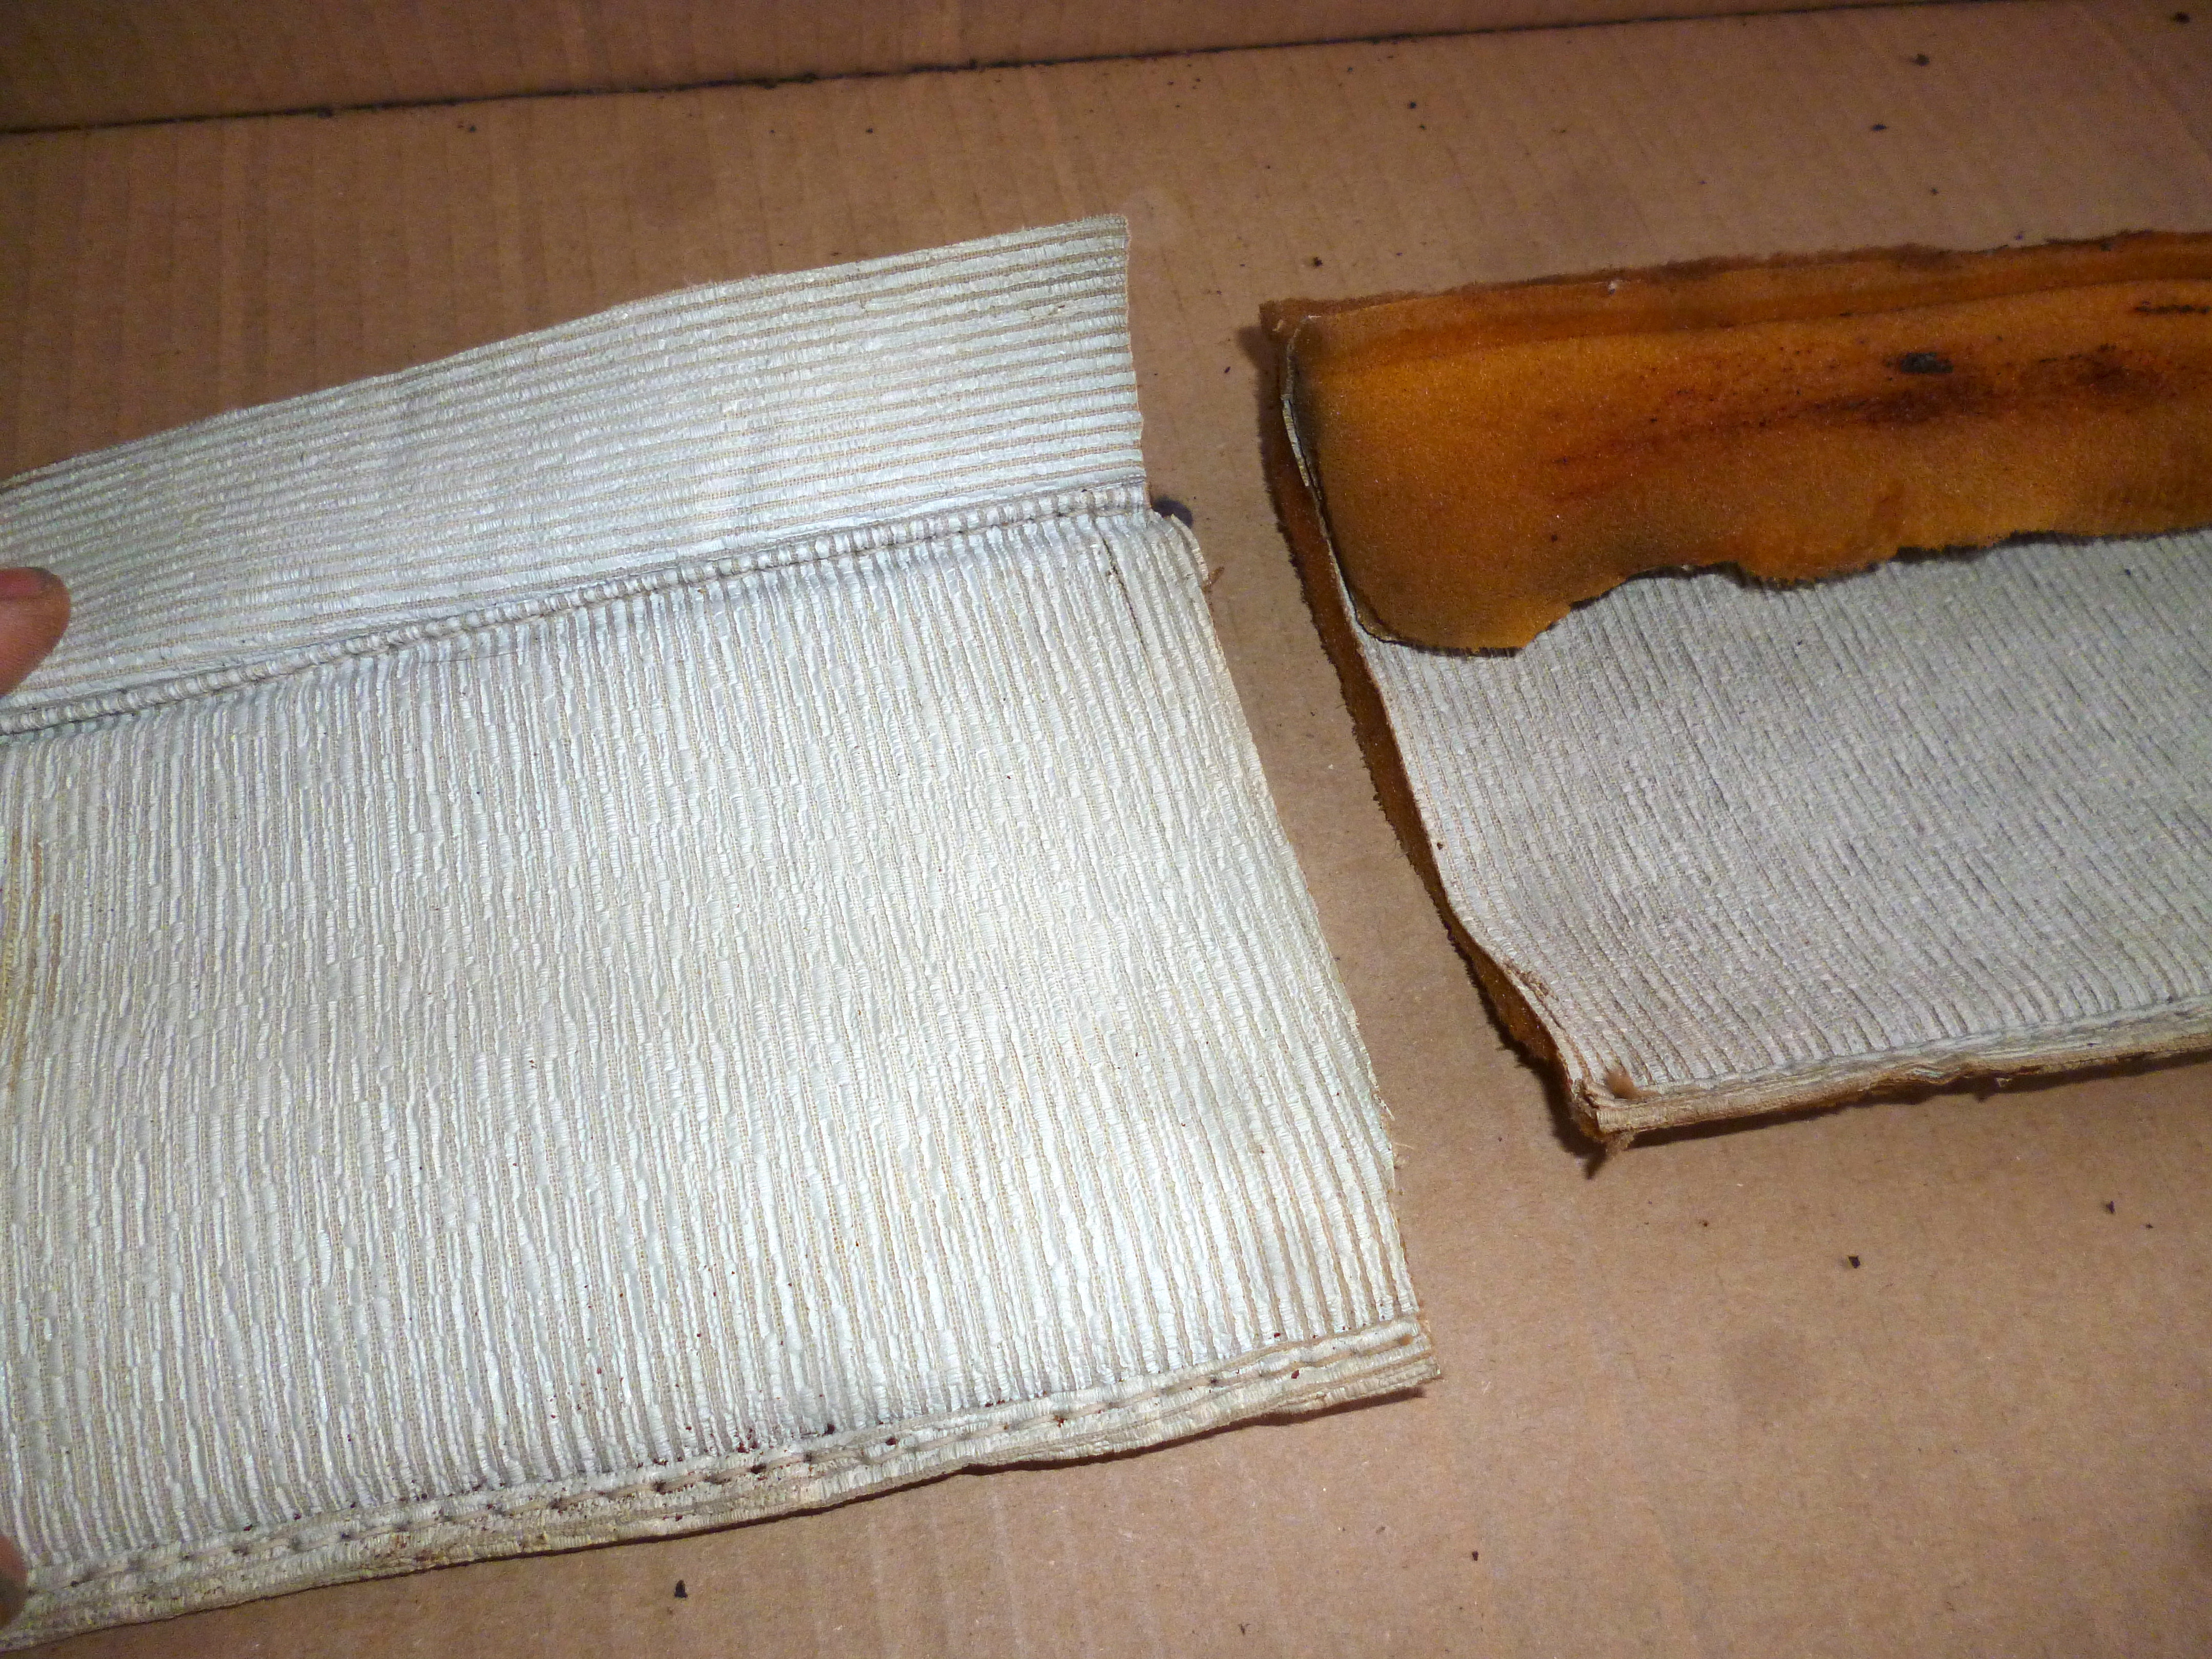
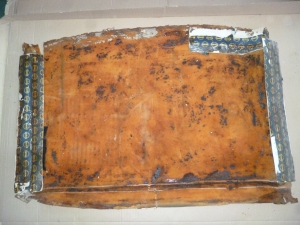
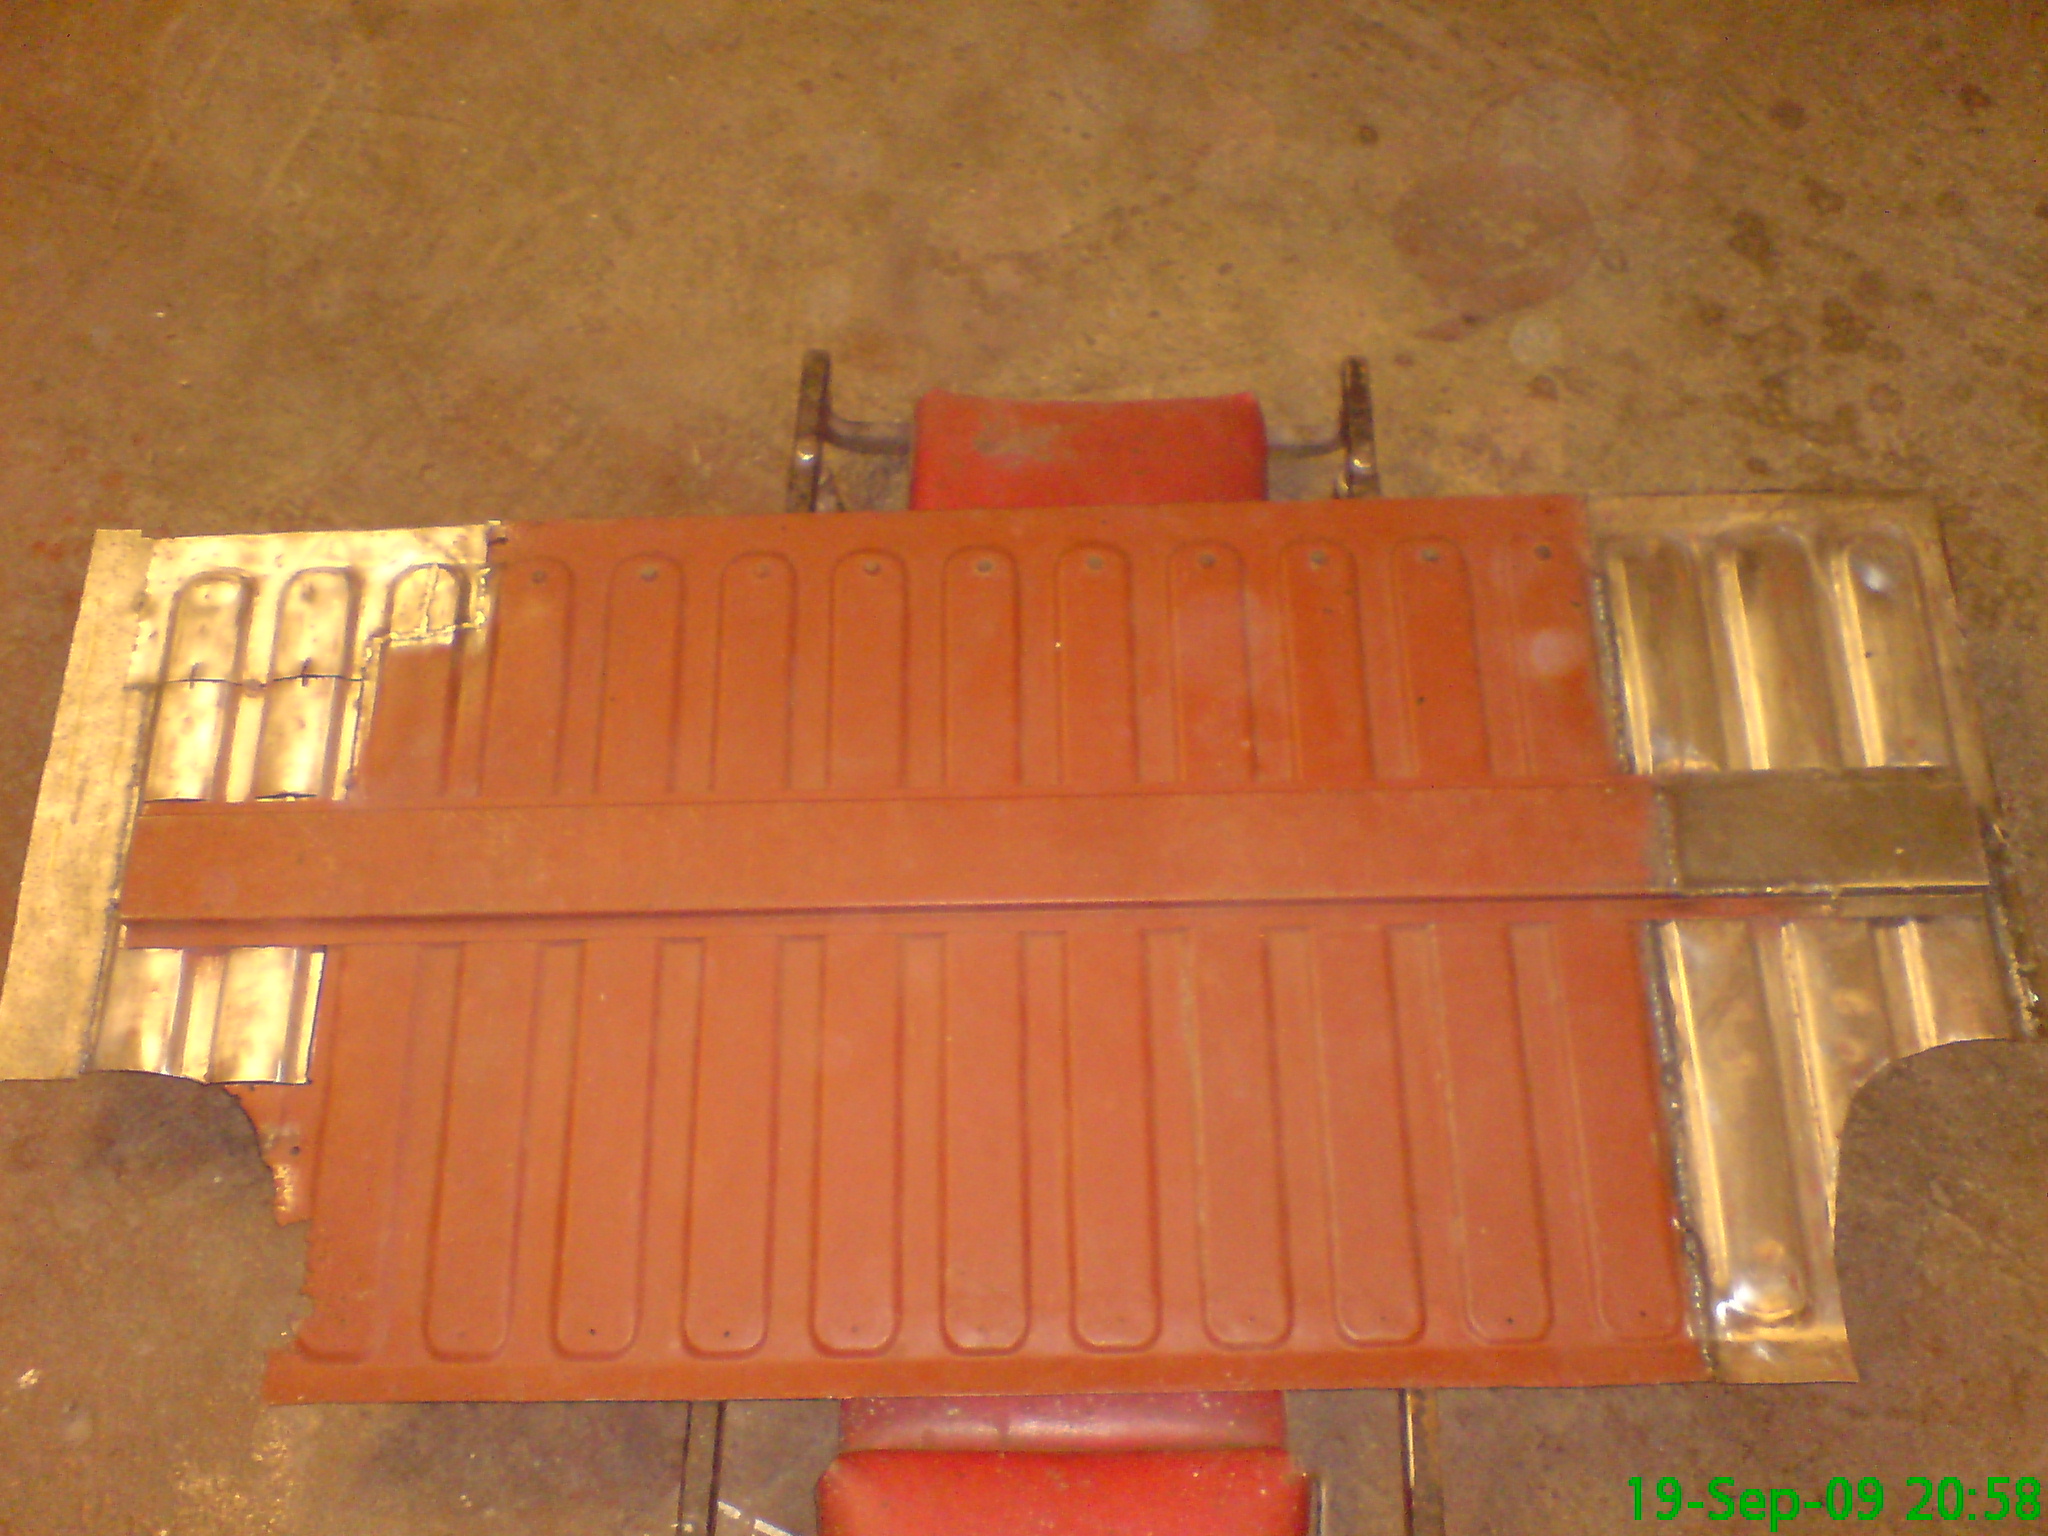
seat covers were cleaned before being packed away but picked up some bitumen from the rear faces of the cab trim. it will clean off ok
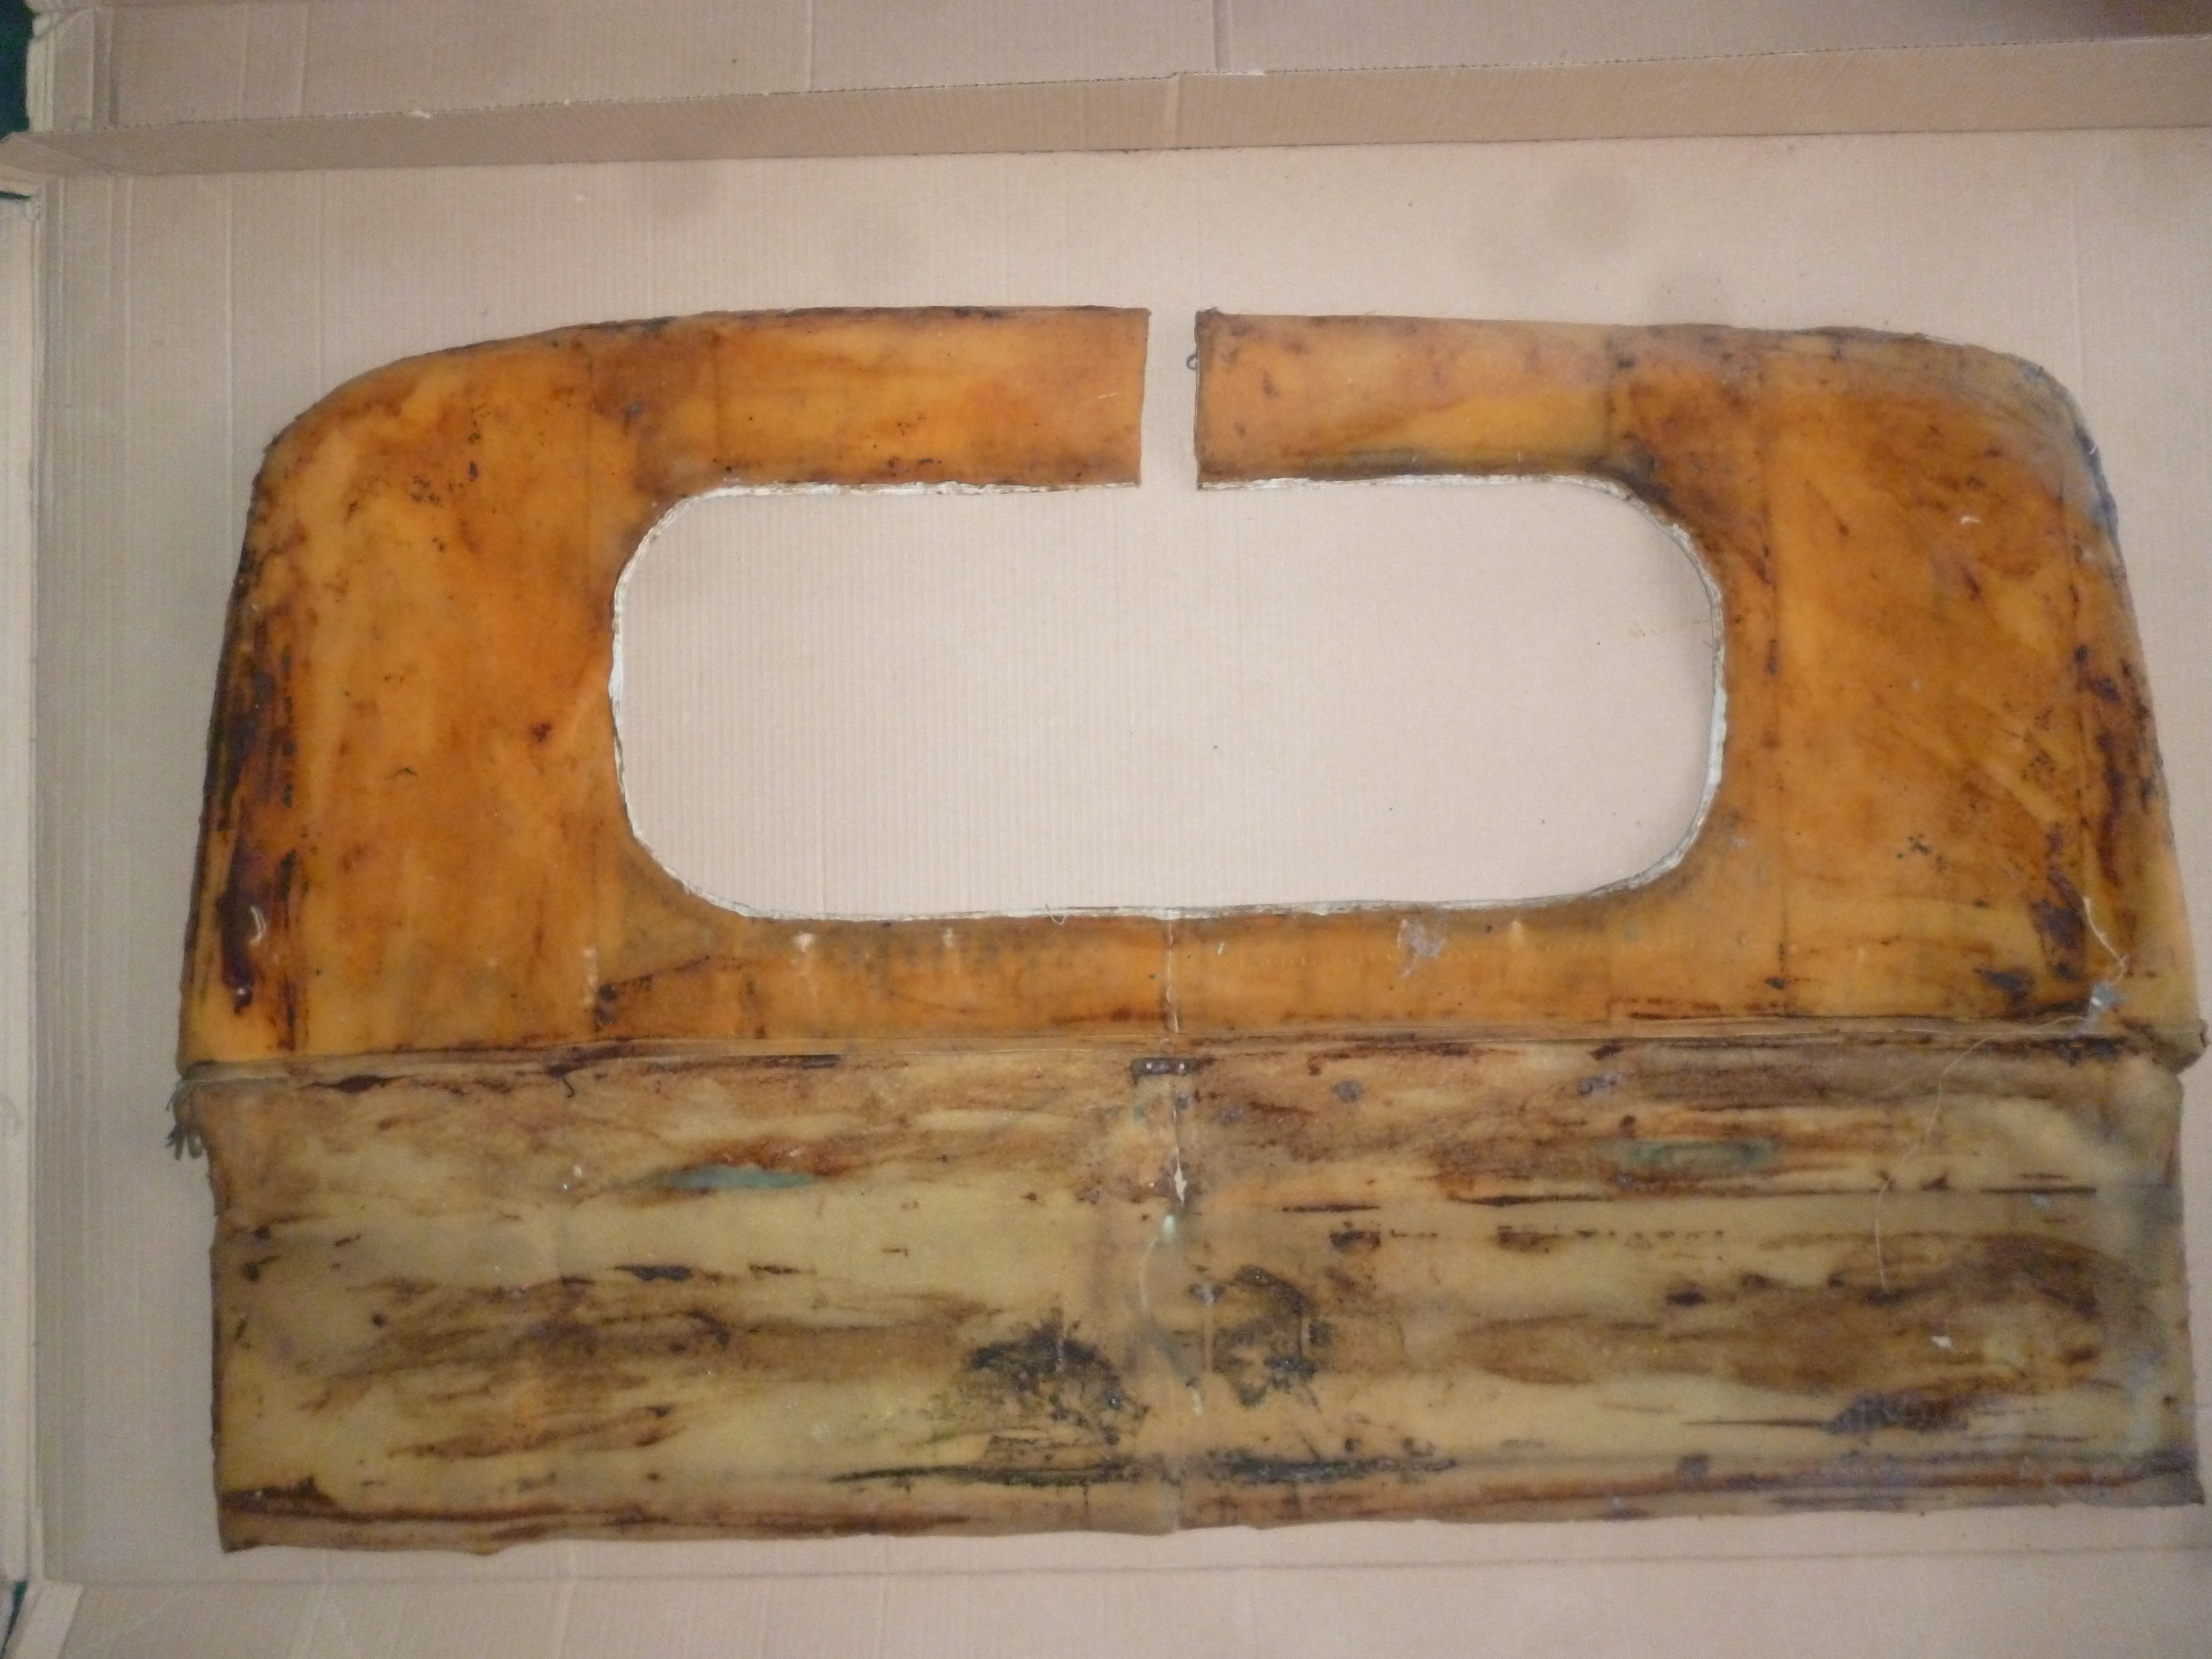
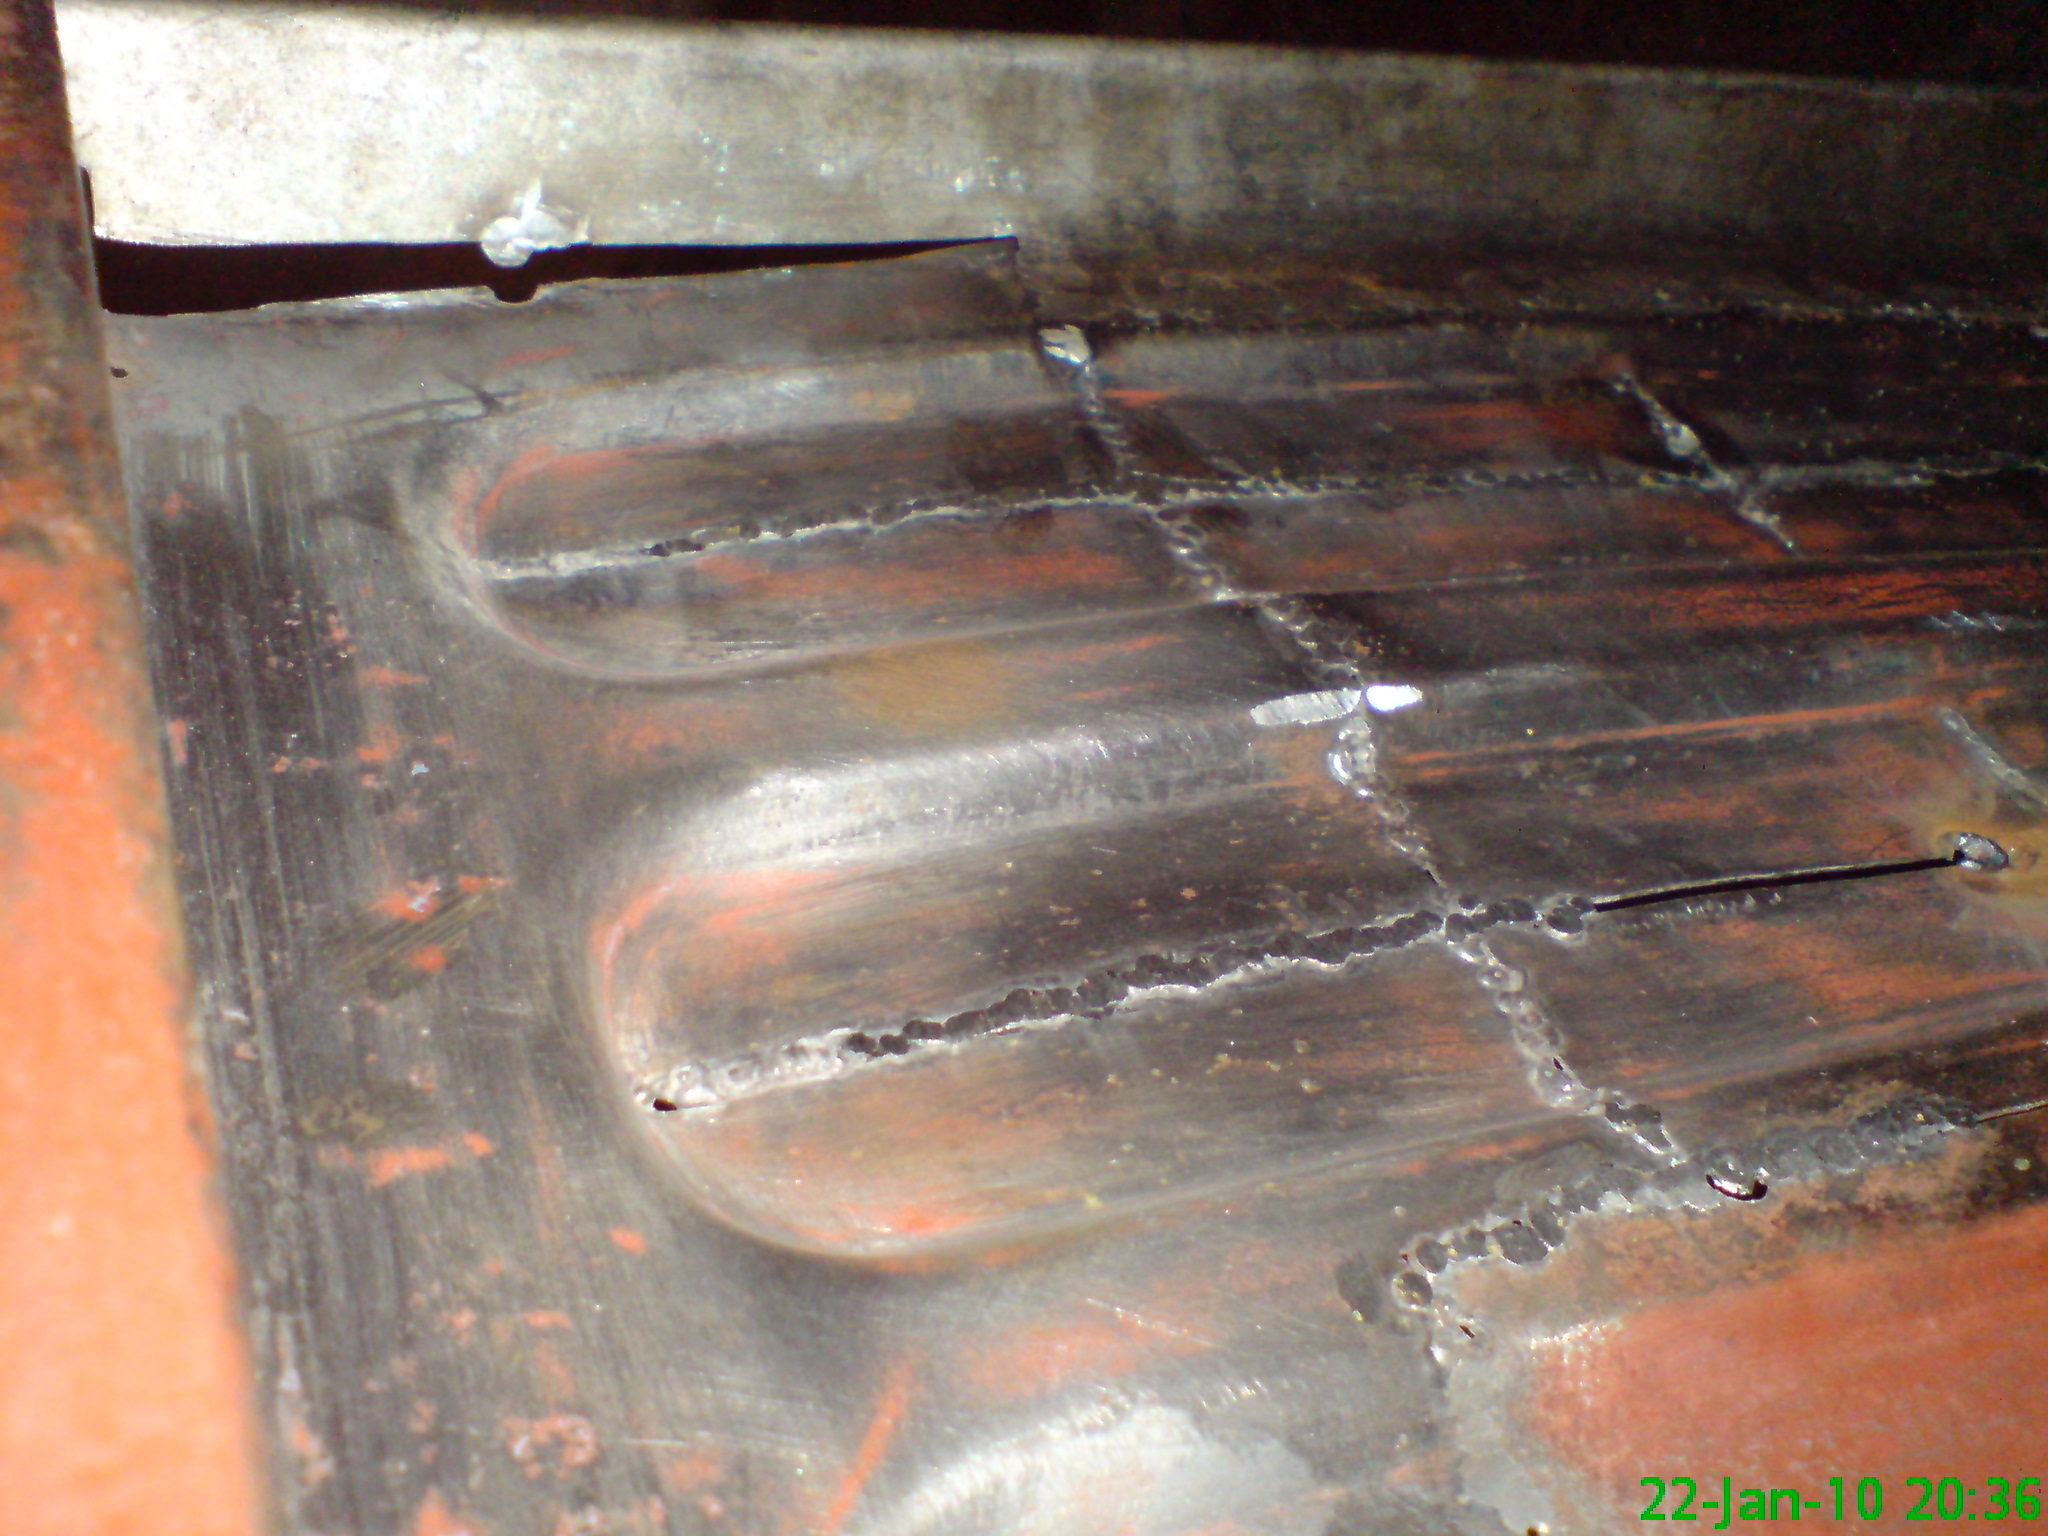
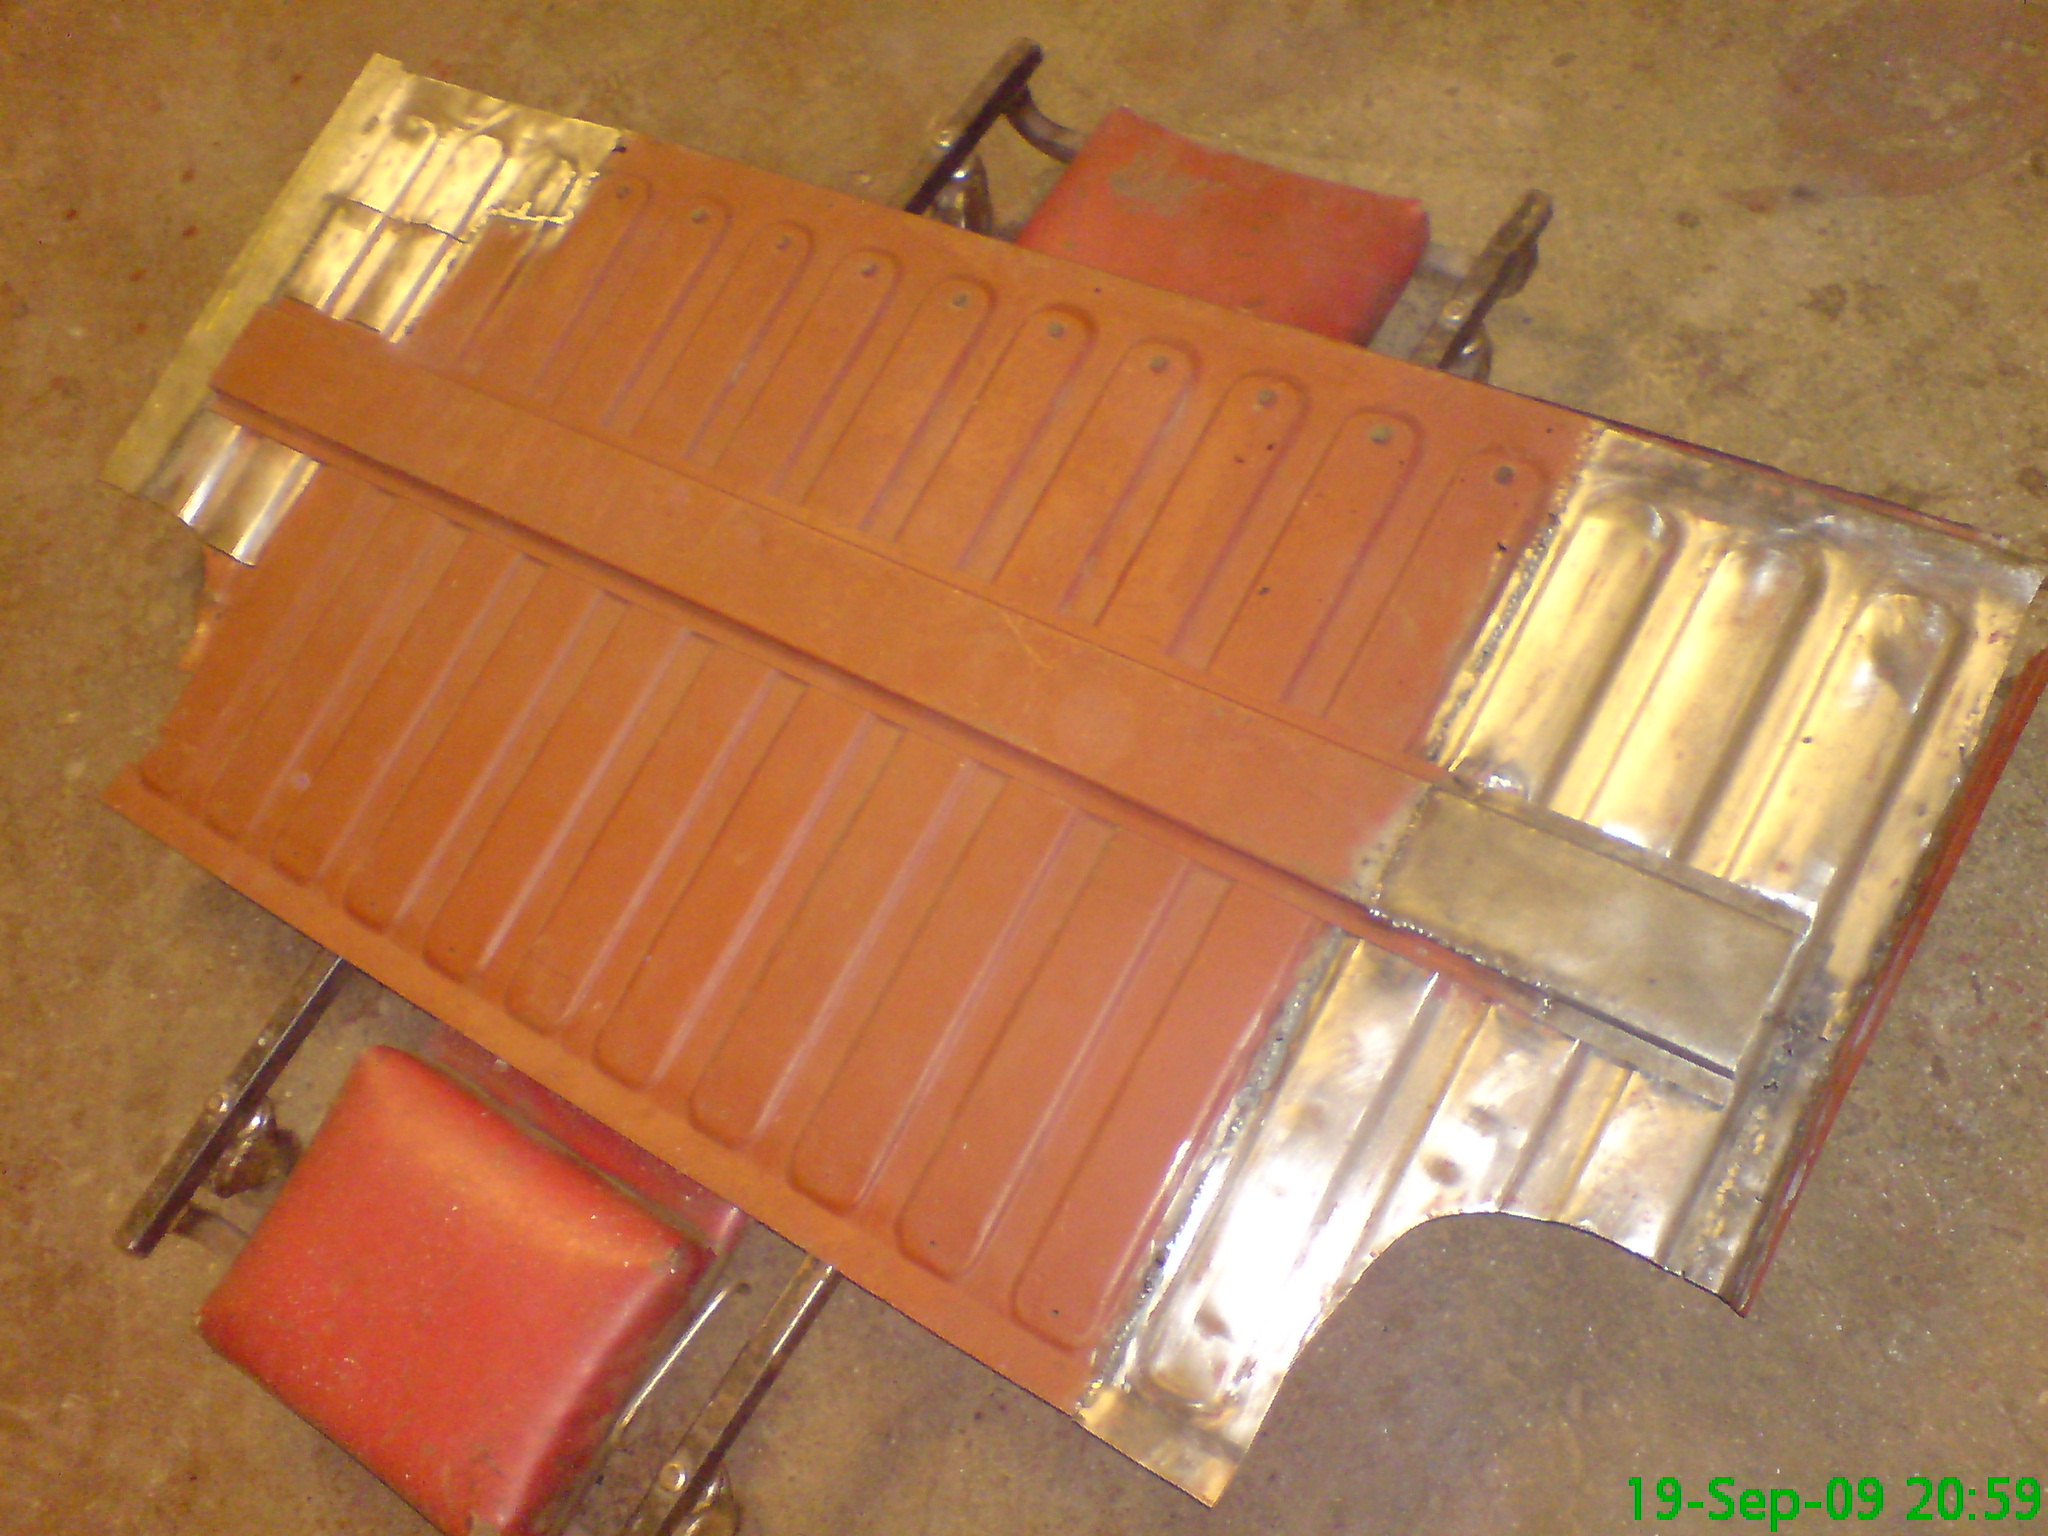
this is rear face of the trim for the cab. the cab wall was covered in bitumen deadening pads which stuck to the foam